Computer Aided-Design (CAD) and reverse engineering play a major role in manufacturing, quality, analysis, and research. As industries move towards more advanced, automated, and scalable processes and 3D scanning continues to see a surge in popularity, the importance of CAD and 3D reverse engineering in particular will only increase. This is evidenced by data such as reverse engineering being one of the end-applications driving the growth of the 3D scanning market, which is expected to reach over $8 billion USD by 2023 (Source: Million Insights). Understanding how these two processes work and the technologies that enable them is an important part of ensuring that your business gets the most out of them. In this blog, we will dive into the details of 3D reverse engineering, CAD creation using 3D measurements, and the benefits and use cases of these processes.
3D Reverse Engineering
Reverse engineering is the process of deconstructing and examining a given device, product, or system in order to gain an enhanced understanding of how it was built, how it works, and its operating parameters. 3D reverse engineering involves creating precise, accurate, 3D models as part of the reverse engineering process. Not only do these models aid in documenting the discoveries of reverse engineering, modern 3D scanning and inspection technologies enable enhanced precision in the measurements taken in the process.

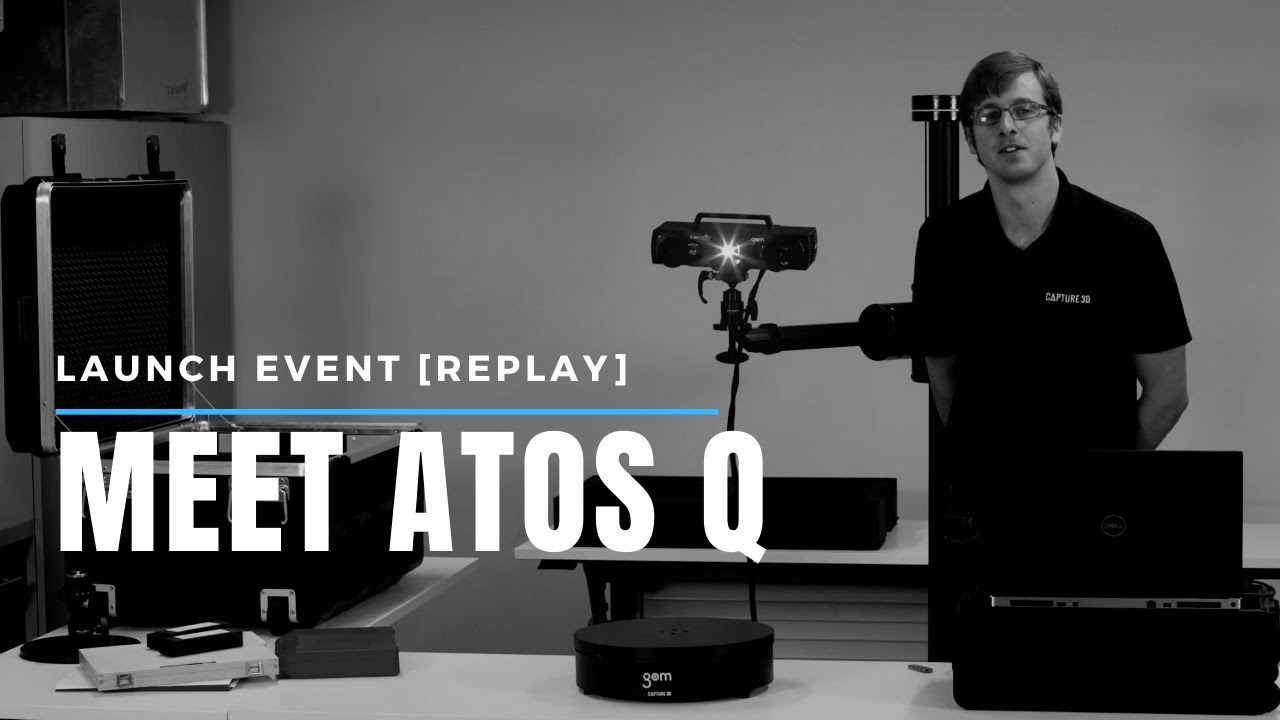
Given the importance of precision in any engineering task, using a high quality 3D scanner is a big part of getting the most out of your reverse engineering efforts. Poor quality scan data leads to poorly designed models and conclusions, which has adverse effects throughout the product design lifecycle. A quality 3D scanner is capable of capturing the intricate details of the smallest and most complex parts. Further, non-contact 3D scanning tools like the GOM ATOS Triple Scan are able to achieve industry-leading levels of accuracy rapidly, as evidenced by Capture 3D winning the GE Aviation High Accuracy, High Throughput Inspection Technologies Challenge. The challenge evaluated participants on speed (the task had to be completed in 3 minutes or less), accuracy (within 10 microns), and repeatability (within 5 microns), and Capture 3D came out on top.
What does this mean for 3D reverse engineering processes? Not only can blue light scanner 3D technologies like ATOS Triple Scan provide precision, they are able to speed up the reverse engineering workflows.
A common misconception about reverse engineering is that it is strictly a research and development (R&D) and design task. While it is true that 3D reverse engineering is an important part of R&D and product design in many cases, there are a variety of other use cases for reverse engineering. For example, if you work in the maintenance industry, reverse engineering is a vital part of performing analysis of equipment your are responsible for. In the manufacturing industry, oftentimes legacy parts have poor or non-existent documentation and reverse engineering can enable repair, troubleshooting, or even another manufacturing run for a legacy device. The takeaway here is clear: reverse engineering can be useful any time the need to understand a product exists, but documentation and data on the product is lacking.
CAD & 3D Measurement Technologies
An important output of the 3D reverse measurement process is a detailed CAD model. CAD models are used throughout the product lifecycle for manufacturing, troubleshooting, benchmarking, and more. In the 3D measurement workflow, CAD models are created using CAD scan data software.
An overview of the process involved in creating an accurate CAD model using 3D scanning is as follows:
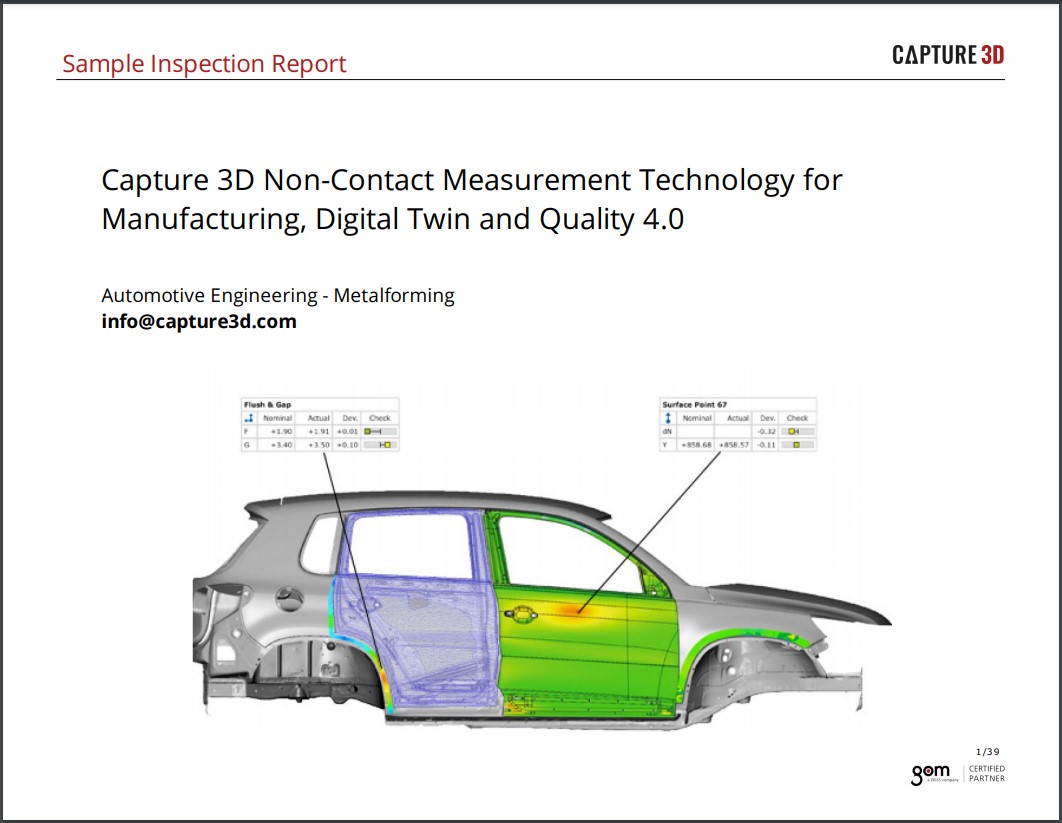
- 3D scanners measure the geometries of a given real-world physical part and then create a digital twin of the data. At this stage, the data is usually a point-cloud in the STL (stereolithography) file format.
- The scan data is imported into CAD software.
- The CAD model is created within the CAD software.
Starting with the right 3D scanning software can help ensure that you nail this part of the process. Getting a CAD model right helps lay the foundation for a successful project and ensure enhanced quality later on in the production, design, or repair process.
The importance of accurate 3D measurements and CAD models to 3D reverse engineering
Given that the point of 3D reverse engineering process is to gain an enhanced understanding of a given product or part, and 3D scanning and CAD models creation can help accurately represent real world physical parts in a highly granular digital format, it is easy to see why 3D scanning and CAD models are vital to the process. To help conceptualize the specific benefits, let’s dive into a few real world use cases.
3D Reverse engineering to create reference frames
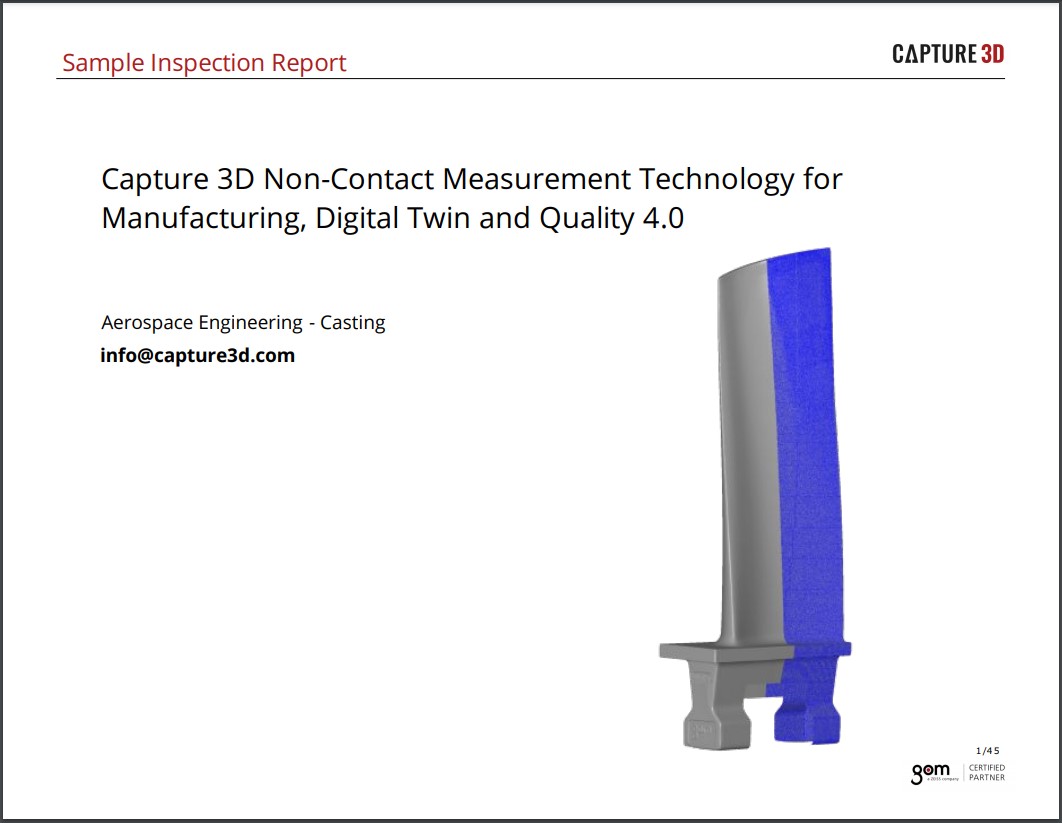
Triumph Engineering Services offers a myriad of engineering services to a number of industries across the entire product lifecycle. When tasked with taking on the complex challenge of measuring airfoils for inspection and reverse engineering, Triumph knew they needed a solution that offered a high degree of accuracy but also needed to be able to reduce complexity and setup time. To this end, they decided to leverage 3D scanning technology to create reference frames. This enabled Triumph to achieve their goals of accurate data, fast CAD production, and reduced time to market. You can learn more about the Triumph reference frame case study here.
3D Reverse engineering to modernize classic designs
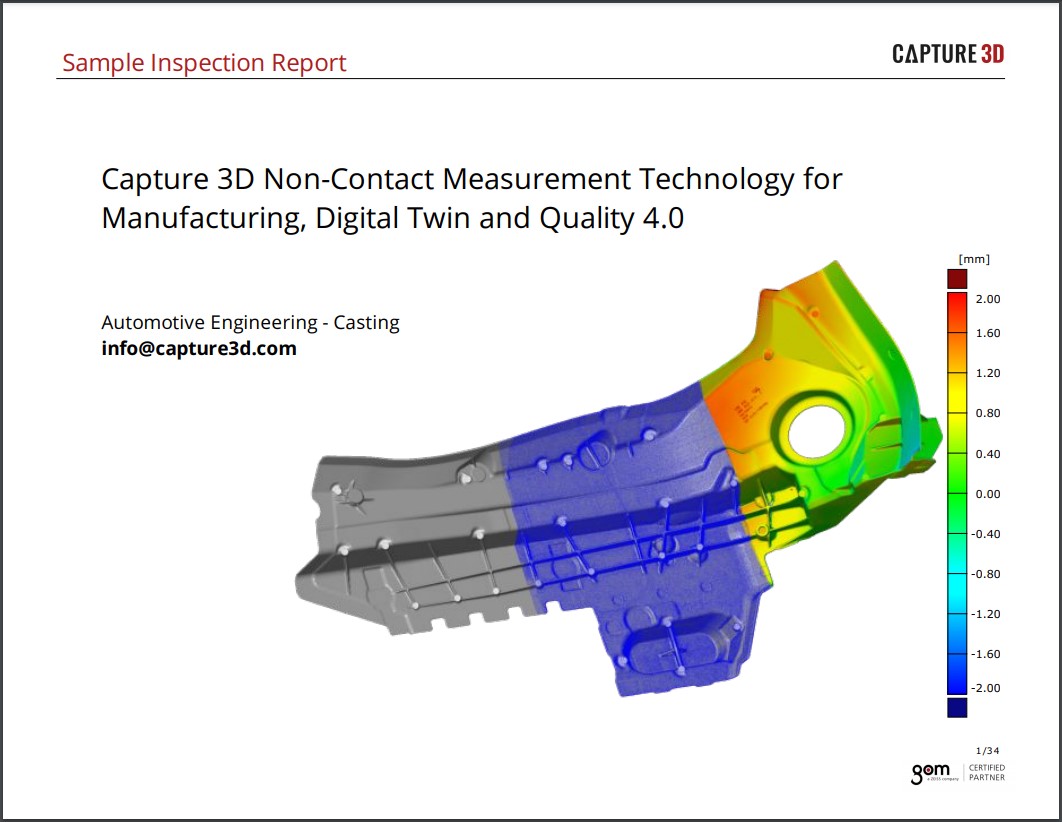
As mentioned, one of the ideal use cases for 3D reverse engineering is taking an old design that may be poorly documented and modeled, and capturing detailed information on its structure and design. When AST was tasked with making new and improved tamper casting designs for the railroad industry, they knew they needed a solution that would accurately measure existing tamper casting solutions and enable the creation of CAD models that could be used to validate the designs of the new solution and meet the demands of a short production schedule.
Despite the pressure of a time crunch (with patterns for new castings due within 30 days), by leveraging GOM ATOS 3D scanning technology ATS was able to successfully complete the project and deliver the patterns. The data they had to start with? Nothing more than a paper drawing from the 1960s and an existing casting. The fact they were able to go from that scarce amount of data to actionable patterns in a month’s time demonstrates how a reverse engineering scanner can enable engineering workflows to meet demands that may be otherwise impossible.
Conclusion: 3D Scanning and CAD creation are a vital part of 3D reverse engineering
Reverse engineering is a process that enables a variety of projects to meet their objectives. As industries become more competitive and consumers continue to demand quality and speed, ensuring that the outputs of your reverse engineering efforts are accurate and able to be produced rapidly are vital to staying ahead of the competition. By integrating advanced metrology solutions like 3D scanners and 3D scanning software, you can help keep your projects ahead of schedule and provide highly accurate digital representations of physical parts, regardless of size or complexity.

If you have questions about how to best integrate 3D scanning into your reverse engineering workflows, please contact us today to learn more. Here at Capture 3D we are dedicated to providing our customers with cutting edge 3D metrology solutions that meet the demands of your unique use case. We know that there is never a one-size-fits-all solution and our knowledgeable team of 3D scanning experts are capable of customizing a holistic solution that is right for you.
