ATOS Triple Scan | Blue Structured Light 3D Scanner for Accuracy
Revolutionary Non-Contact Industrial Precision Metrology of Very Small to Extra Large Objects
Out of 51 entries, Capture 3D was awarded the winner of the GE Aviation High Accuracy, High Throughput Inspection Technologies Challenge: “3 minutes or less with accuracy of 10 microns and repeatability of 5 microns.”
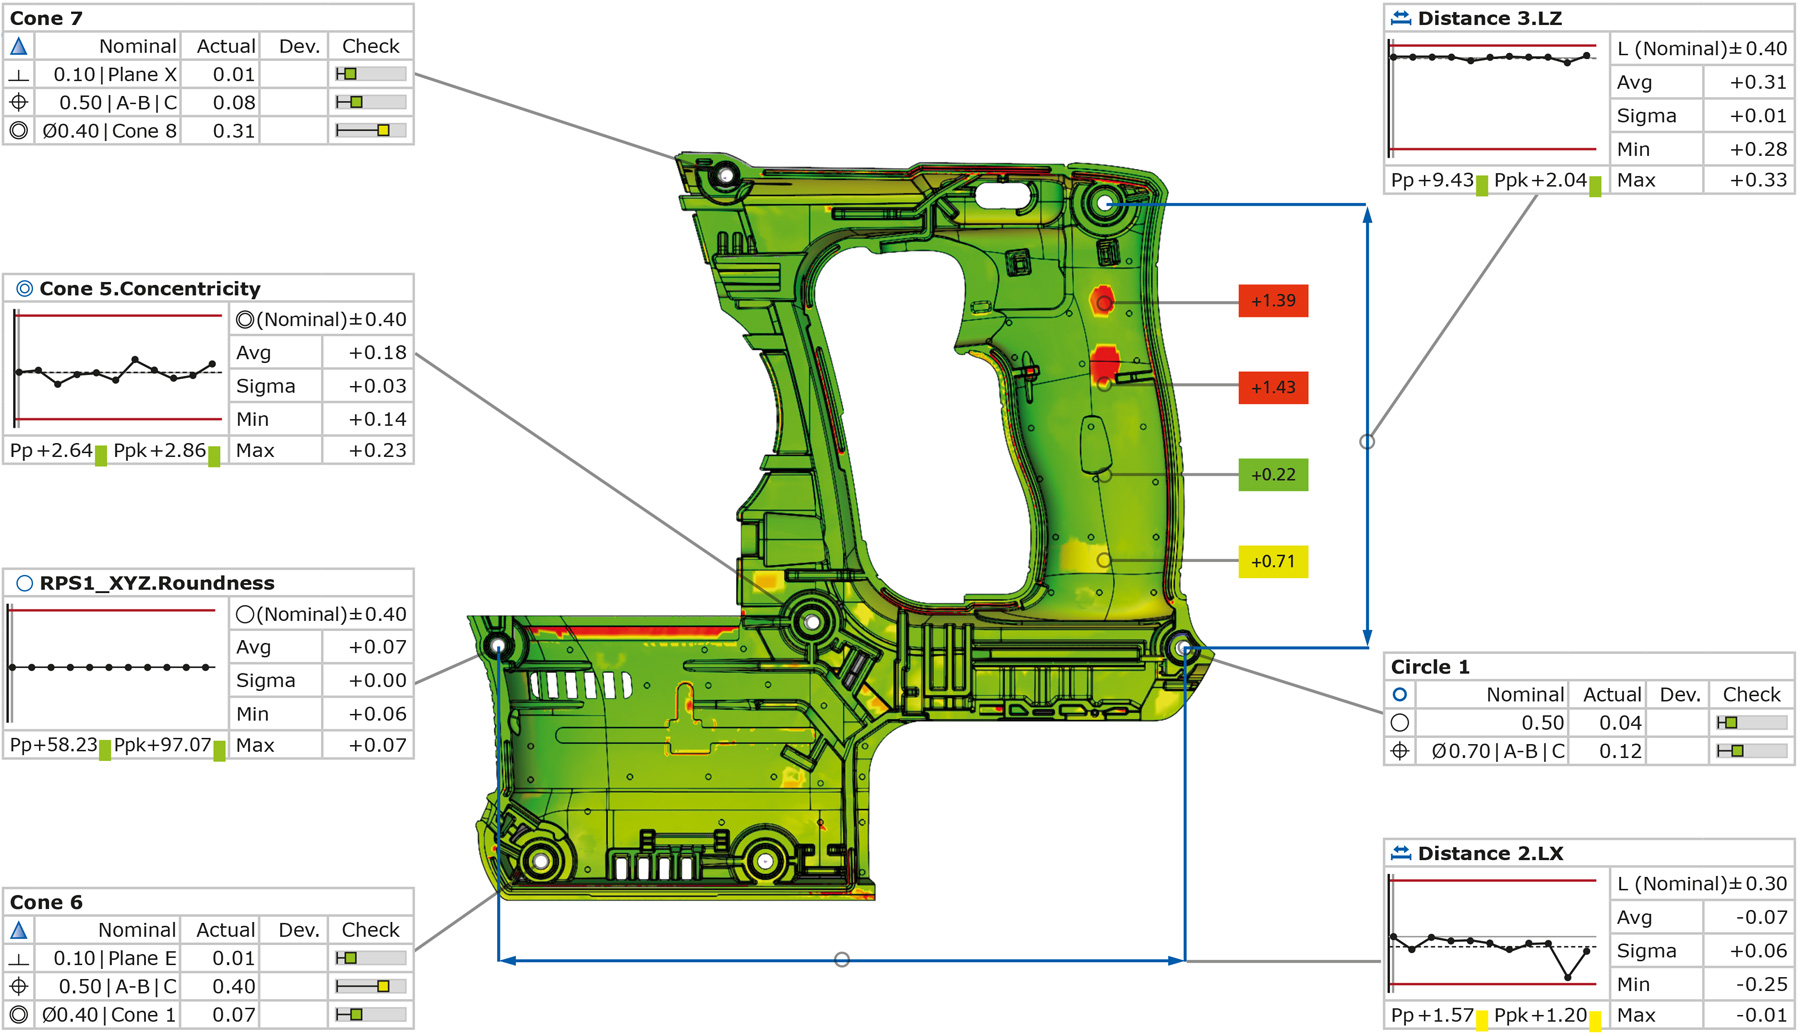
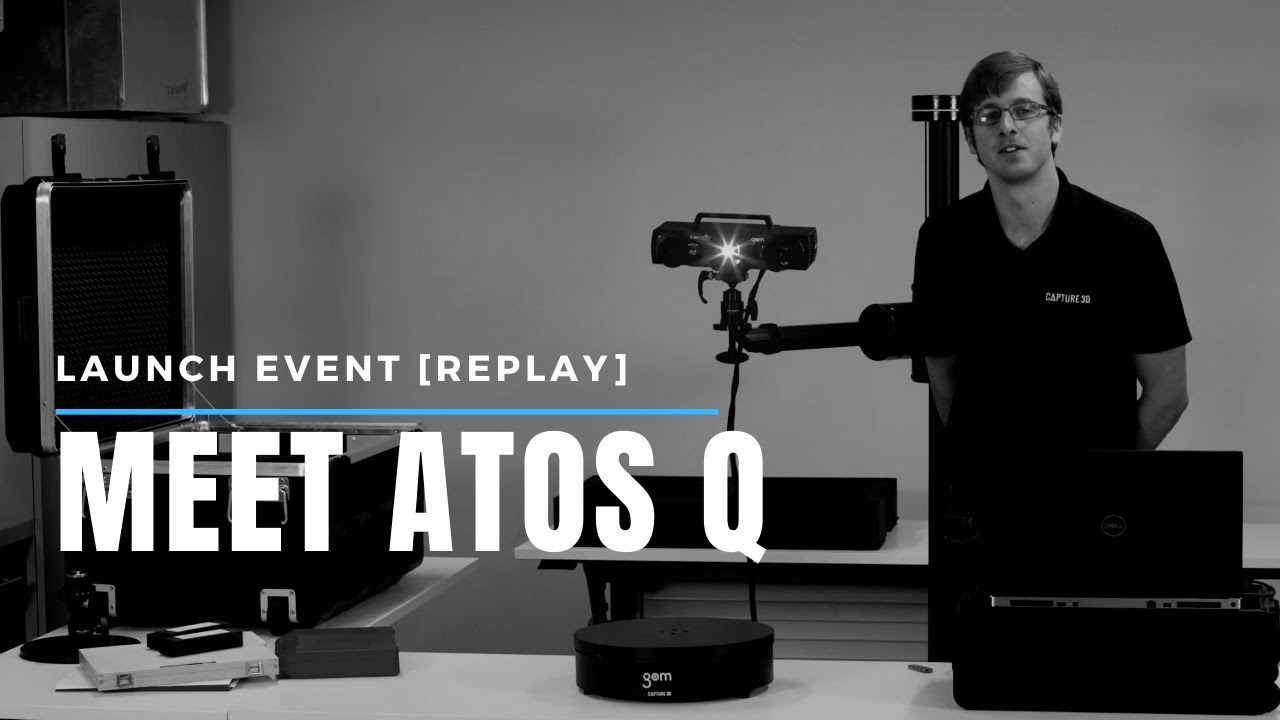
The ATOS Triple Scan non-contact structured blue light 3D scanner is a type of coordinate measuring machine that measures millions of points per single scan/measurement. It uses advanced measuring and projection techniques to produce high quality data and precision accuracy for full-object dimensional analysis. The ATOS Triple Scan can measure shiny surfaces as well as complex components with deep pockets or fine edges (i.e. airfoils, turbine blades, etc). The Triple Scan functionality reduces the number of individual scans required resulting in faster measurement times with high detailed feature capture for various part sizes, surfaces, finishes, and geometries, regardless of environmental lighting conditions.
- Aerospace certified accuracy and repeatability
- Rapid high-resolution 3D data collection
- Comprehensive software for 3D scanning, inspection analysis, and reporting
- Interchangeable measuring volumes for project versatility (measure small to extra-large objects)
- Various configurations for lab, portable, shop-floor, automation, near-line, and in-line production environments
- Turnkey solution from a single vendor
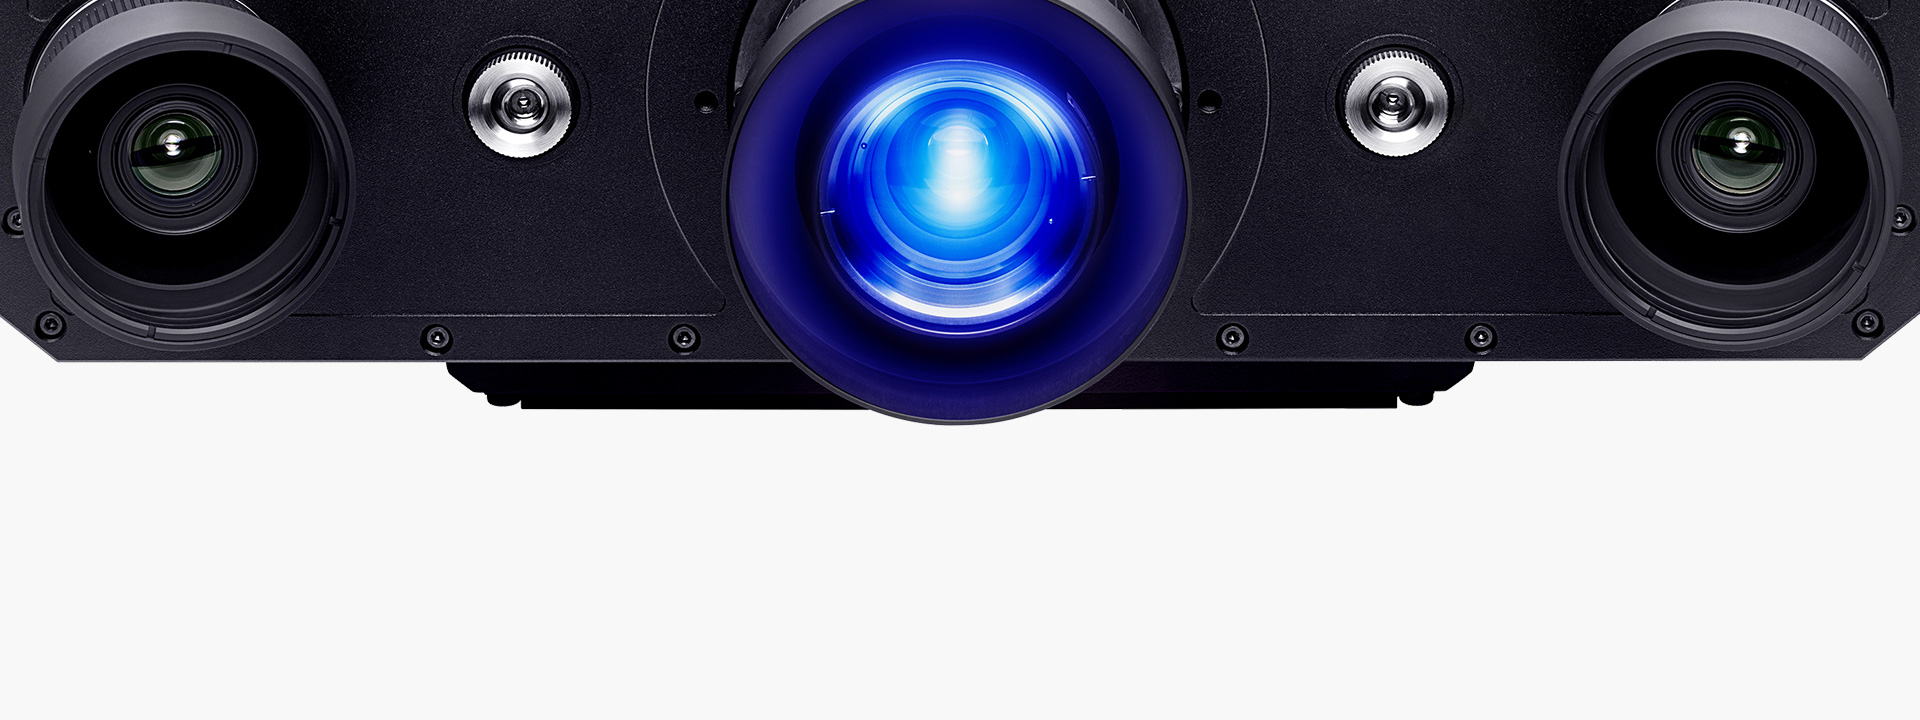
Triple Scan Technology – 3 in 1The ATOS Triple Scan operates as 3 sensors in 1 system. Each high quality optical camera works independently from one another thus capturing accurate 3D scans from the left, right, and both cameras with high resolution feature detail. This advanced functionality maximizes data collection and improves scanning of shiny surfaces. Additionally, it minimizes the number of scans, thus reducing the overall measurement time. |
|
Blue Light TechnologyThe blue light technology further improves the scanning of dark or colored surfaces while making it resilient to environmental factors because of its narrow band of blue light. It enables precise measurements to be carried out independently of environmental lighting conditions, with extremely long service life, minimum heat development, and low maintenance with greener technology. |
|
High Resolution Versatile 3D Scanner for Small to Large Projects
The ATOS Triple Scan uses high resolution measuring cameras with up to 16 million PPS (points per scan) with exceptionally developed optics for precision measurements. The accuracy, measurement resolution, and measuring area are adaptable to application requirements with interchangeable measuring volumes to ensure data capture on a part's finest geometric feature. Measuring volumes range from 38mm to 2m. This flexibility allows measurement of a large part spectrum with the same sensor head, and when used in combination with TRITOP, the ATOS System is capable of scanning parts of over 30m with detailed resolution and high data quality. |
|
Industrial Advantages for Industrial ProcessesWith thousands of installations in measurement and analysis rooms as well as factory and production halls worldwide, ATOS has been accepted as the preferred metrology solution for process improvement. The ATOS Triple Scan is an accurate and fast solution for a number of different application areas including:
|
![]() |
Universal Process Safety - TraceabilityThe ATOS 3D scanner is established in industrial process chains. The integration of ATOS in industrial development and production processes helps:
|
![]() |
Intelligent and Integrated Inspection SoftwareAll hardware and software are developed and engineered completely in-house at GOM Germany ensuring harmonious synchronization and compatiability with software enhancements that are customer driven. ATOS Triple Scan systems come with ATOS Professional Live software for powerful inspection analysis with additional features such as Touch Probe measurements, optical tracking for part positioning, and back projection for projecting features onto the part for welding and/or machining. ATOS Professional software includes comprehensive inspection functionalities with the ability to multi-task by inspecting while scanning. Some of the software tools include: advanced mesh processing, parametric inspection, power generation inspection, sheet metal inspection, curve based inspection, creating measurement plans, templates, teaching by doing, trend analysis, traceability, GD&T, online tracking, reverse projection, and more. Through a simple graphical user interface, ATOS Professional Live software supports today's tasks in quality control, manufacturing processes and reverse engineering. |
|
|
|
Combining Optical and Tactile MeasurementATOS Triple Scan systems come standard with one Touch Probe and access to the Live workspace module for optical tracking, back projection and touch probe measurements. The GOM Touch Probe add-on kit combines full-field and touch probe 3D measurement. The Touch Probe allows quick discreet point measurements in difficult to access areas, comparison directly to CAD, measurement of primitives, quick measurement of individual points and online alignment. ATOS and Touch Probe measurements are carried out with one system and are evaluated with one software package. No extra hardware or tracker is required, enabling quick measurement procedures and easy switching between surface and single point measurement analysis. |
![]() |
Technical Data
![]() |
![]() |
![]() |
|
System Configurations | ATOS II Triple Scan | ATOS III Triple Scan | ATOS Triple Scan 16M |
Camera pixels | 2 x 5,000,000 | 2 x 8,000,000 | 2 x 16,000,000 |
Measuring area | 38 x 29 mm2 to 2,000 x 1,500 mm2 | 38 x 29 mm2 to 2,000 x 1,500 mm2 | 170 x130 mm2 to 810 x 610 mm2 |
Point spacing | 0.02 - 0.79 mm | 0.01 - 0.61 mm | 0.03 - 0.16 mm |
Working distance | 490 - 2,000 mm | 490 - 2,000 mm | 440 - 800 mm |
Sensor controller | integrated | ||
Cable length | up to 30 m | ||
Sensor positioning | industrial sensor stand or automation robot | ||
Part positioning | manual or automated rotation table | ||
Image processing computer | laptop or high-end PC | ||
Operating system | Windows | ||
Software | ATOS Professional with Live - 3D data capture, processing, complete parametric inspection, optical tracking, back projection, and touch probe measurements. |
||
Material & part finish | measurement of shiny and dark surfaces, and complex component geometries | ||
Ambient lighting | low sensitivity to environment lighting conditions | ||
Environmental vibrations | unaffected due to GOM's dynamic referencing system | ||
Operating temperature | 5 - 40°C, non-condensing | ||
Power supply | 90 - 230 V AC |