Automation and Metrology
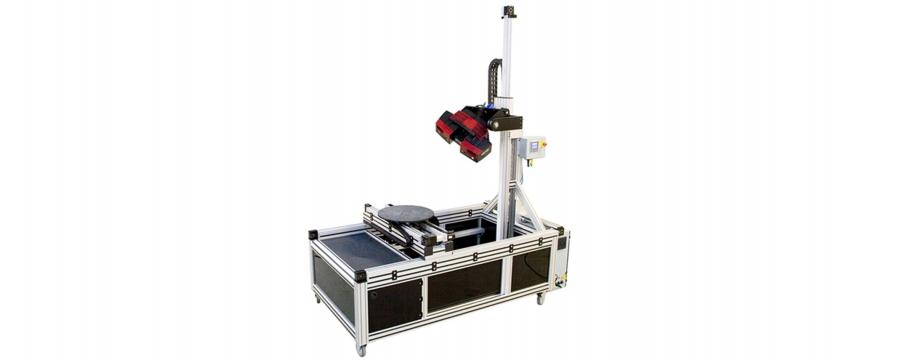
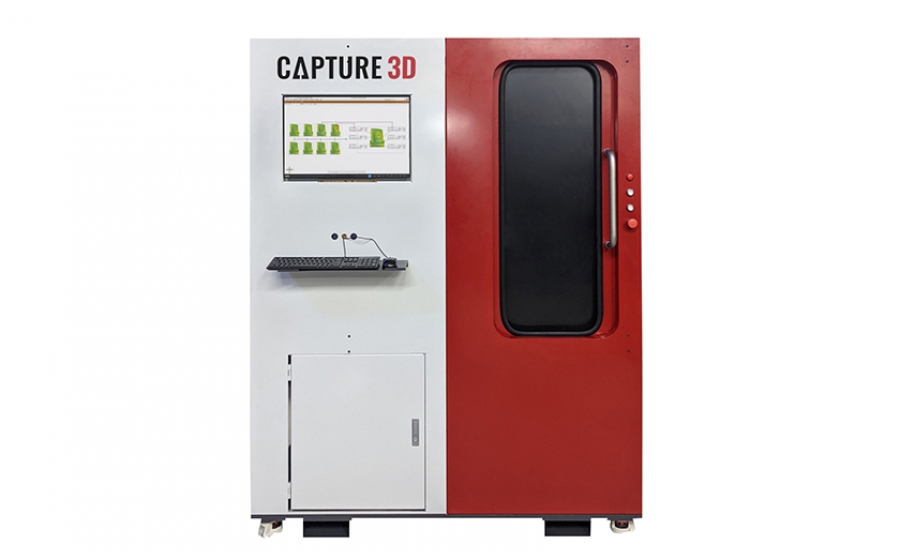
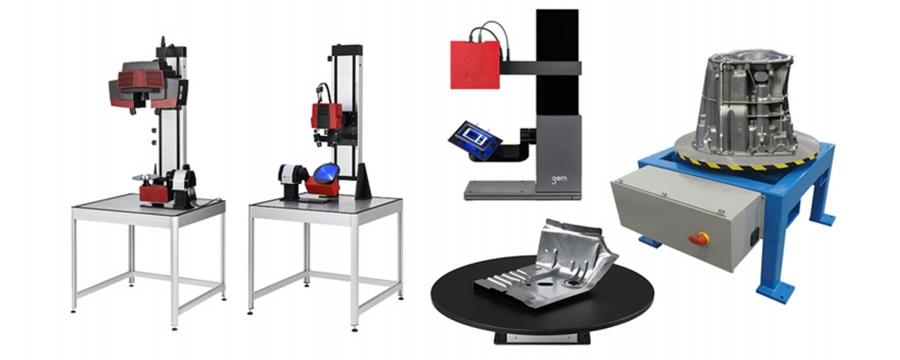
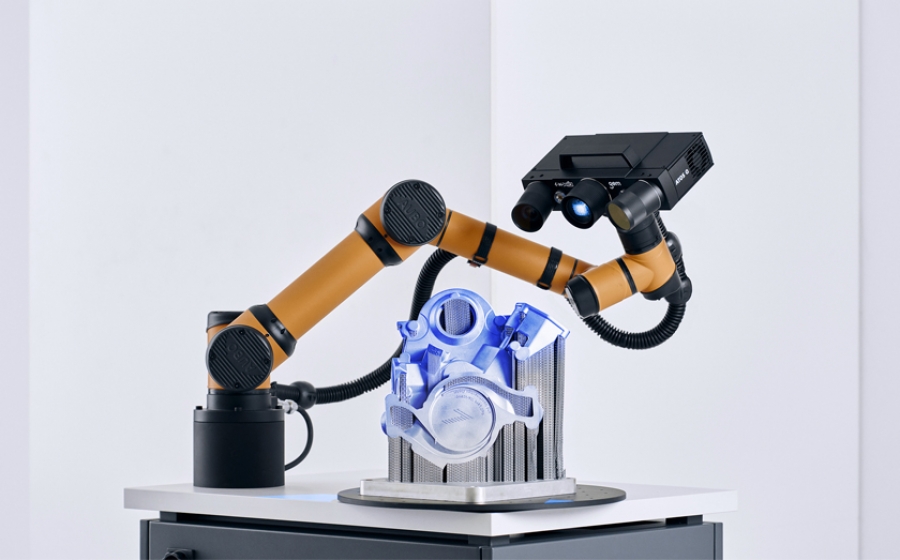
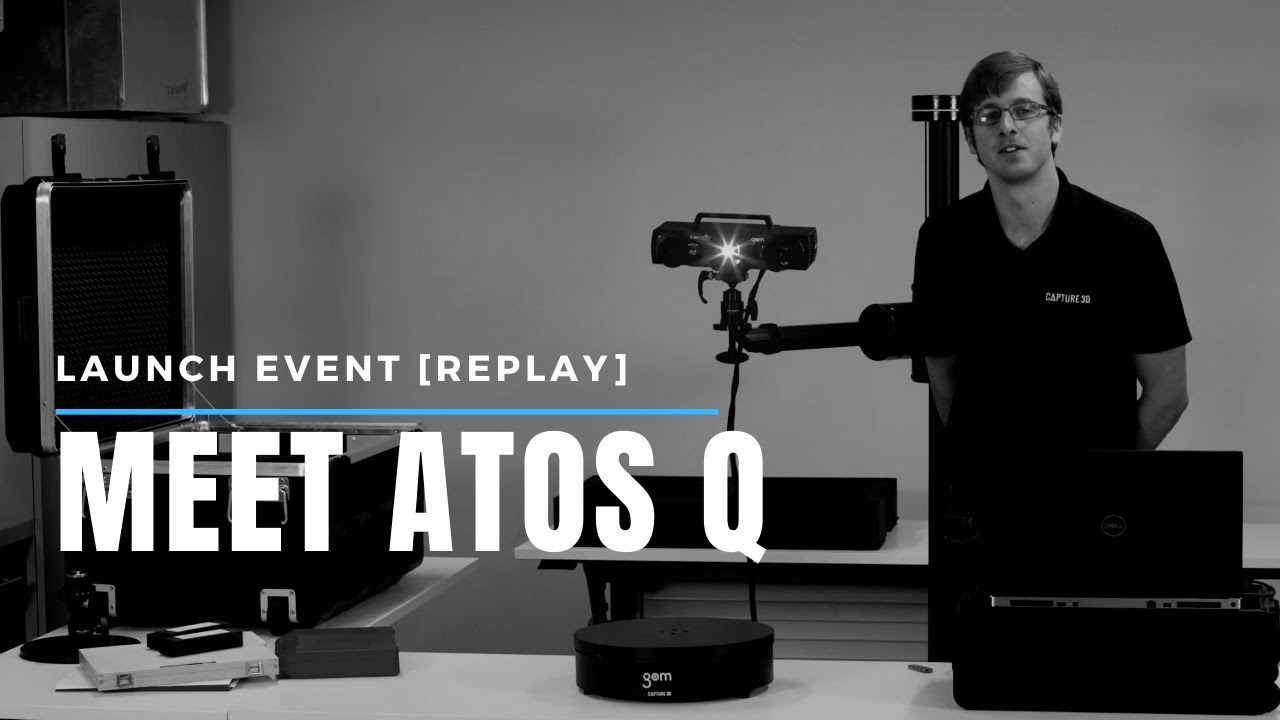
Companies realizing the benefits of ATOS accurate and rapid 3D scanning are further optimizing their manufacturing and production processes by advancing to automation. Increase productivity, speed up dimensional analysis, and improve time to market without slowing down operations. Capture 3D produces high-quality and turn-key automated solutions that are engineered for seamless integration. Advanced hardware coupled with intelligent software orchestrated to give a user-friendly guided interface.
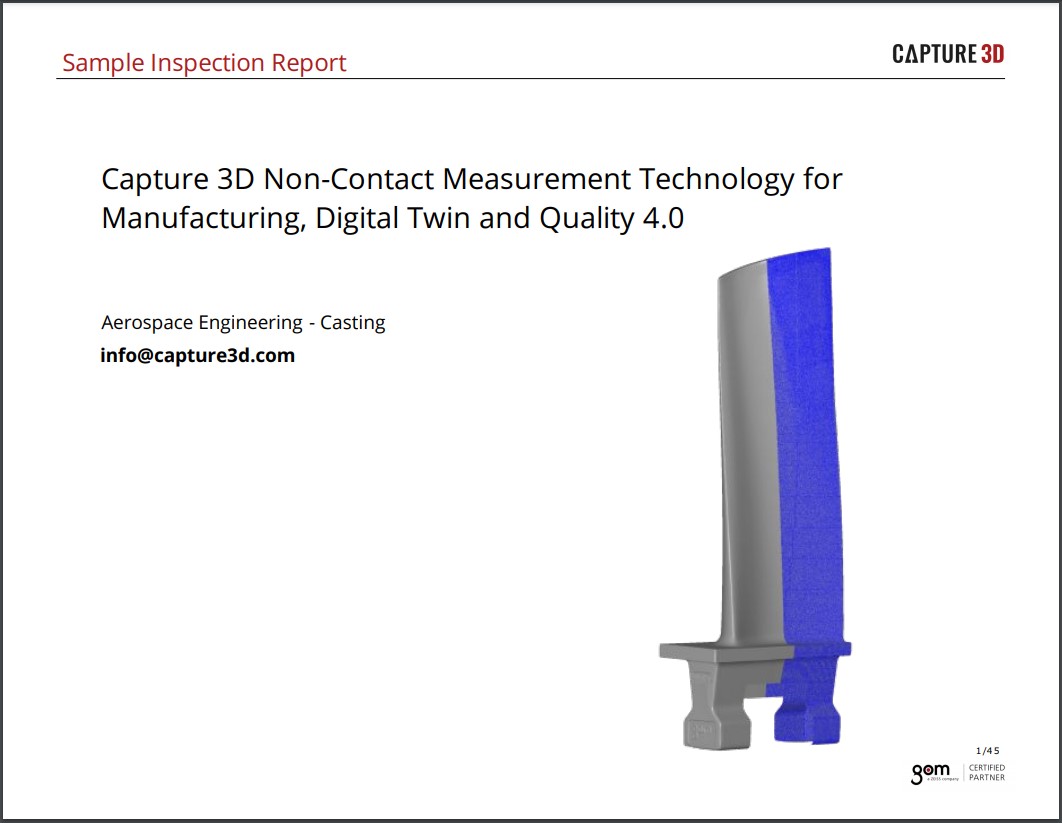
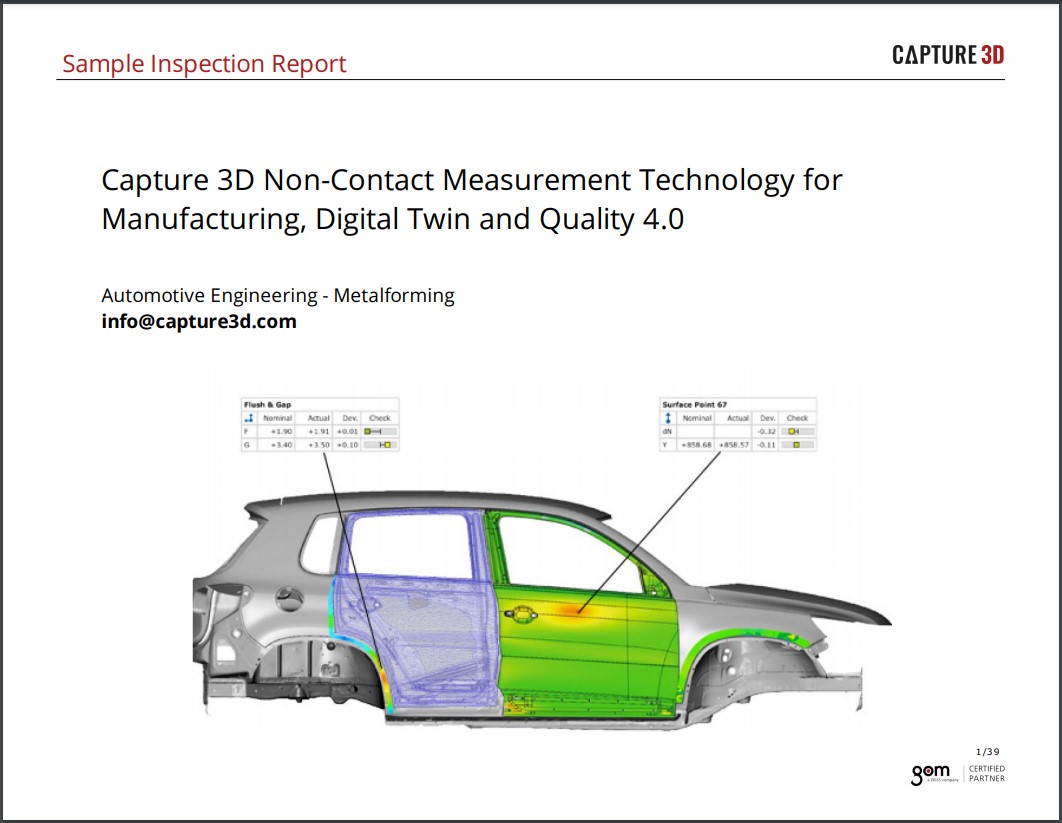
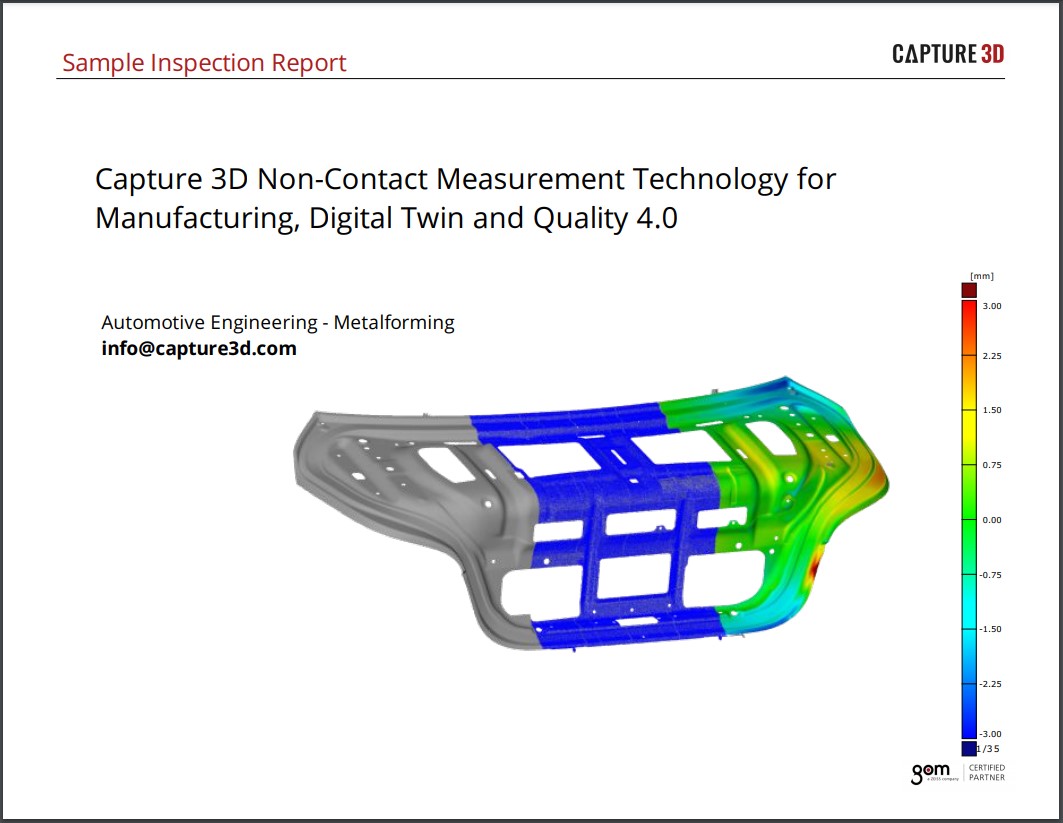
In comparison to a CMM, which takes a single measurement at each programmed point where the probe contacts the surface of the part, ATOS is an optical non-contact measuring system that captures full-field scans of a volumetric area, collecting millions of points per measurement. With CMMs, the coordinate position of the part must be referenced before the measurement process; therefore, how the part is fixtured and oriented to the CMM is crucial. Structured light scanners work oppositely. Regardless of the object’s coordinate position in 3D space, the part geometry is scanned first, and a coordinate system is applied afterward to the datum features detected within the measurement data. This alleviates the need and requirement for expensive and highly accurate fixtures. Setup is easy and does not require CMM programming skills.
-
- Certified accuracy
- Rapid data capture
- Repeatable process
- Increase throughput
- Inline production optimization
- Single vendor
