3B Scientific
3D Scanning and Coloring of an Anatomical Model of a Torso with Removable Organs
![]()
![]()
This application shows the complete digitizing of the model of a torso and its removable organs, with all data in one coordinate system, using the combination of ATOS 3D scanner and TRITOP photogrammetry (ATOS XL). The goal is the generation of data for the reproduction of the part. 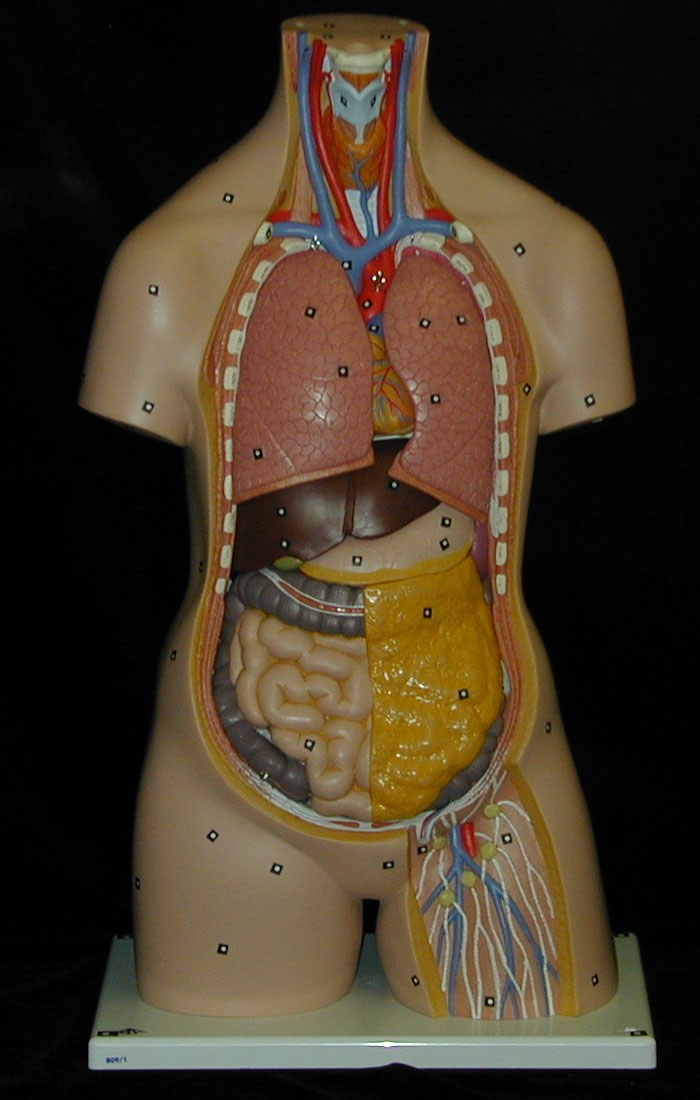 Fig.2: Model of a torso with organs
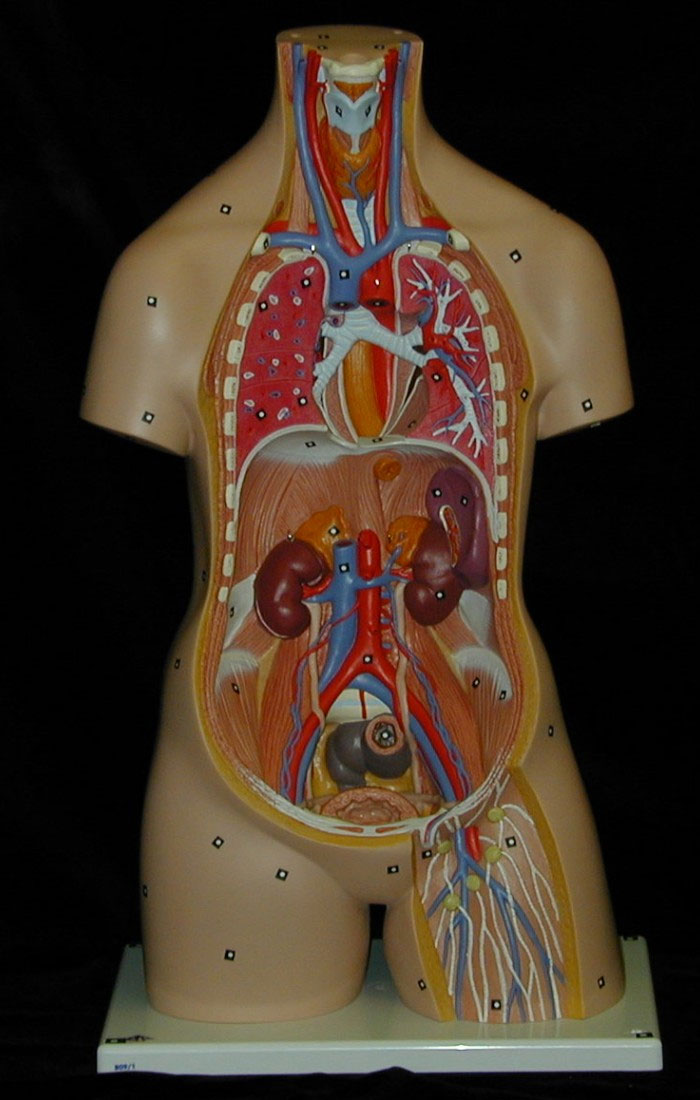 Fig.1: Model of a torso without organs
First some reference points are applied onto the torso. Then, using the photogrammetry camera and the software supplied with the XL part, the coordinates of the points are measured with high accuracy. In the next step the organs are placed in position and three reference markers are applied to each added part. Now the second series of images is taken and from these images the visible reference point coordinates are measured. Using the points on the torso, which are defined in both measurements, the second set of points is transformed into the coordinate system defined by the first measurement.
Then the organs are removed and each part is digitized individually using the ATOS 3D scanner. If the parts are small compared to the selected measuring area of the ATOS system, no additional reference points on the part are needed. The part is mounted on a black breadboard. On the board, around the part, additional reference points are placed. Then the assembly is digitized from different views, using the reference points on the breadboard to merge the different views into one coordinate system.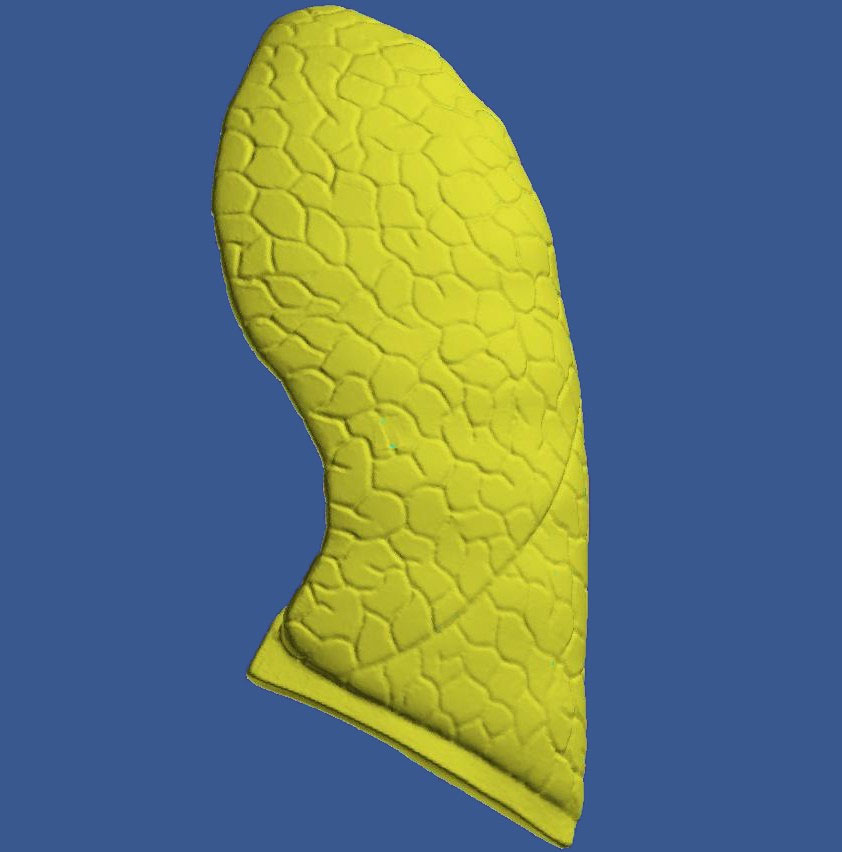 Fig.3: Digitized lung (flat shaded)
Then the three predefined reference points are used to merge the data into the global coordinate system. If needed, the part is rotated to allow full coverage of the part.
The torso itself is digitized during 3D scanning with the ATOS 3D scanner sensor mounted on a tripod and moved in steps around the part, in order to cover all needed areas creating a digital twin of the part. The transformation of the individual point clouds is made automatically using the applied reference points. This method is used to digitize big objects, step by step, with high accuracy. The progress of the scanning is visualized on the screen and therefore the complete scanning is simple and straightforward.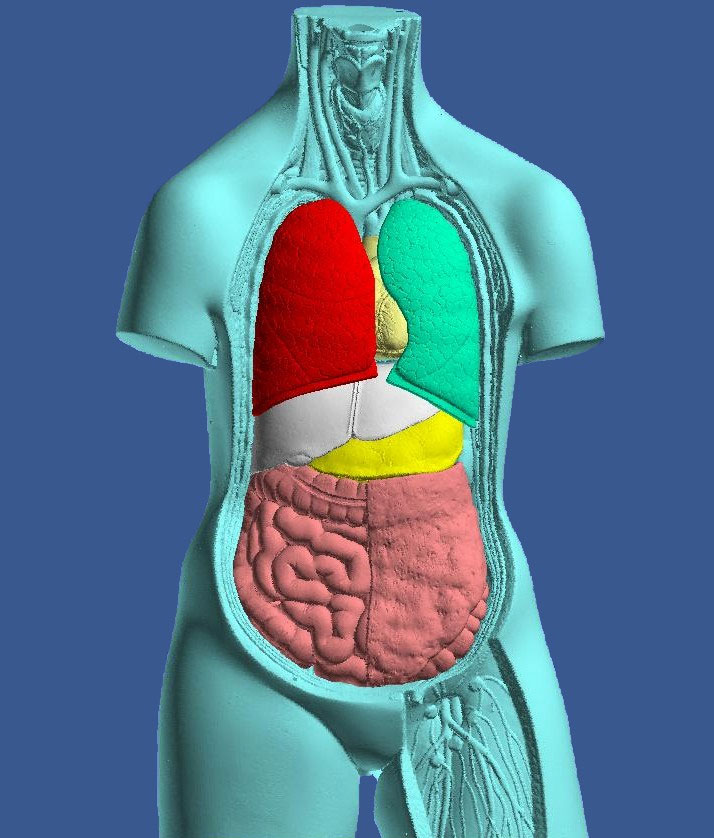 Fig.5: Digitized torso with organs (flat shaded)
 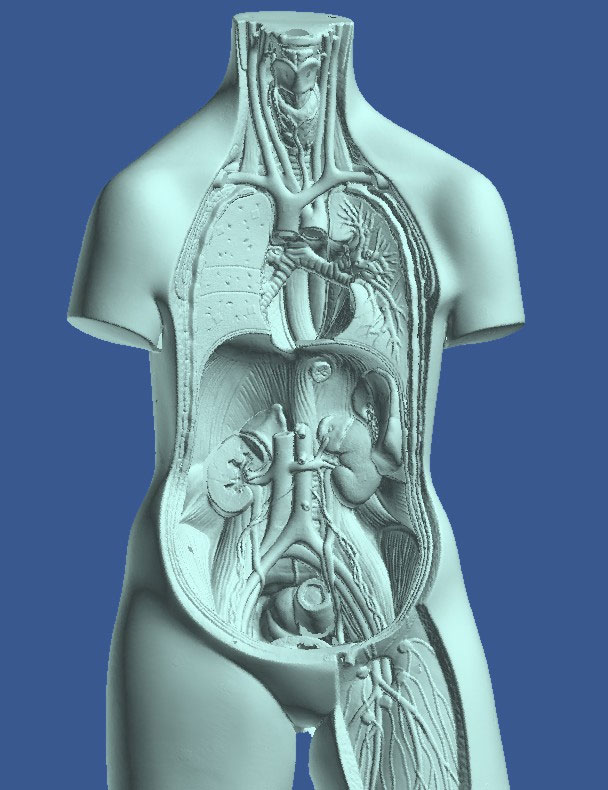 Fig.4: Digitized torso (flat shaded)
Using the ATOS software, the measured data can be preprocessed into different file formats to meet the requirements of the application. High density clouds, sections as well as thinned out STL data can be generated. Usually STL data is used to have a RP model made or to mill on the data.
As we use the ATOS cameras for the digitizing, the color in fig. 5 is artificial and used to visually distinguish each individual part. To be able to visualize the real color in the digitized object, the object is put into a room with good lighting conditions and a digital color camera is used for the photogrammetry measurement. Then the ATOS measurement is made as usual and finally the color information gathered during the photogrammetry measurement is projected onto the digitized data. Using this method, the color quality as well as the digitized data correspond to the real part.
 Fig.6: Digitized torso with original color(flat shaded)
 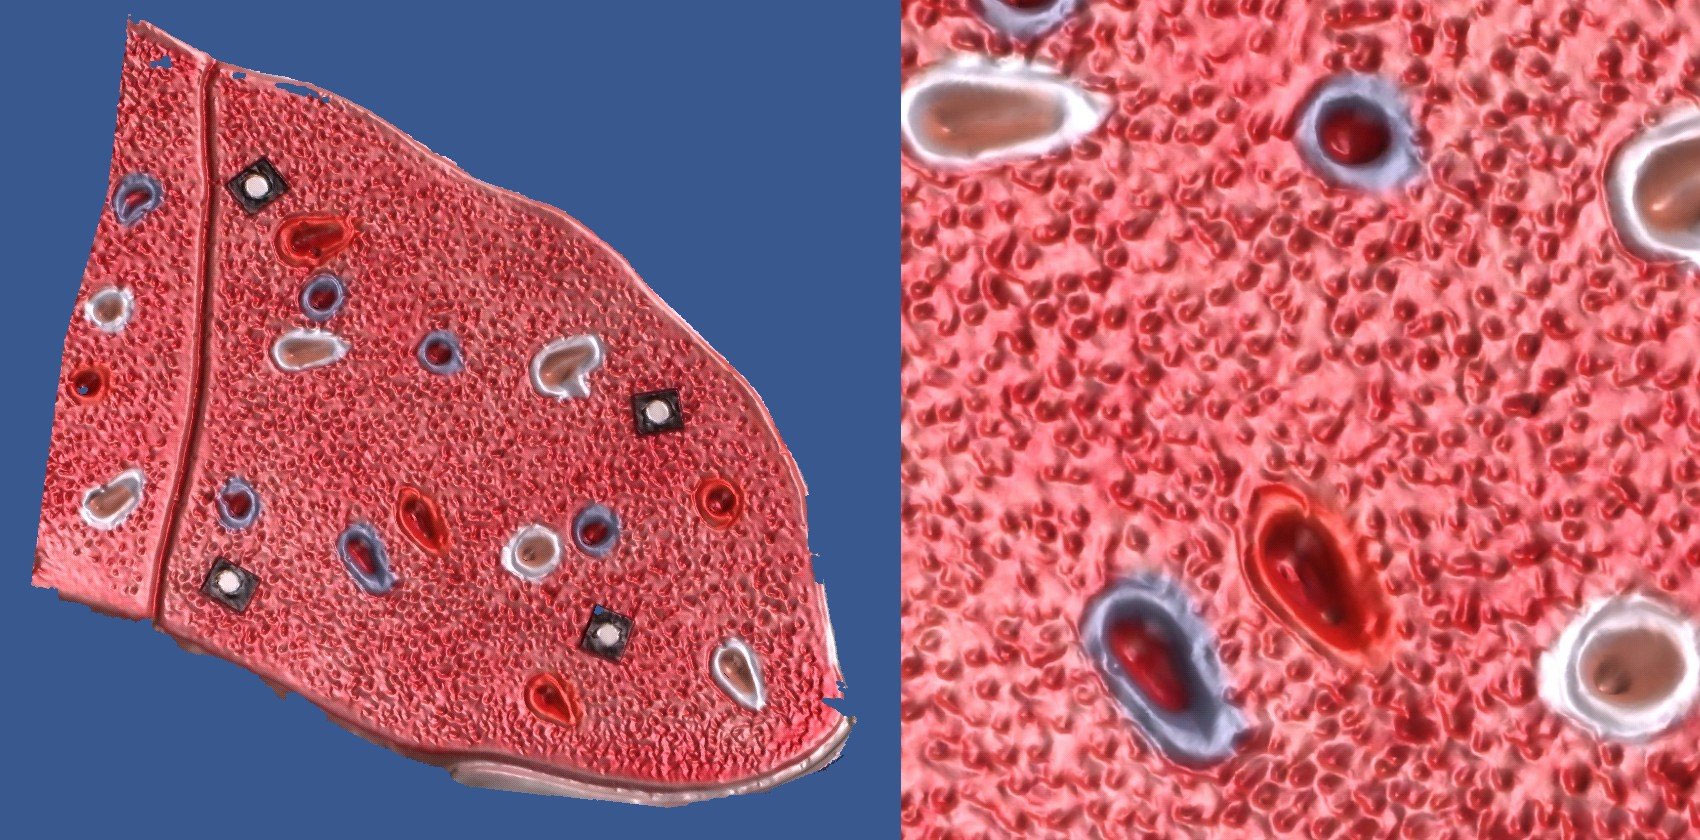 Fig.7: Detailed view of the lung, displayed as "color polygon mesh".The color information clearly illustrates details of the lung of this model. Thanks to the technology used, high quality "color polygon meshes" are created as both, shape and color are recorded under optimum conditions.