What You Need to Know Before Implementing Automated Inspection
As the digitalization of manufacturing continues, automated inspection is becoming increasingly popular. Automated inspection is the use of digital or computer-aided inspection, measurement and analysis of components. The automation can be: the manipulation of the object, the collection of measurements, or the analysis post-inspection to assess the component against a specification.
Many sectors are rapidly adopting automated inspection. Industry-leading companies are making automated inspections the bedrock of their quality systems, increasing standards of conformance, precision and efficiency.
Read on to learn more about the following topics. You can click on a section to jump ahead:
- Advantages of automated inspection
- Different types of automation
- Important factors for automated inspections
What are the Advantages of Automated Inspection?
Automating inspection can generate several benefits. These include:
• Error-proofing: Automating inspection leads to improved quality control due to the highly repetitive and dependable nature of digital inspections. Human error and mix-ups can be significantly reduced or eliminated with audit trace reports available for each inspection.
• Speed & Efficiency: While quality benefits are often the key driver of automating inspections, significantly reduced cycle times can be achieved in most cases. Increased throughput often results from eliminating redundant steps, leading to optimized processes.
• Redeployment of staff: It is estimated that up to 20% of all manufacturing staff inspect components. Reducing this amount makes your staff available to focus on critical thinking, problem-solving and other high-value work.
• Data trending & analysis: When automated inspection data is combined with data capturing systems, companies can monitor production trends in real-time. Identifying trends or drift in production standards is easier when the inspection data is precise, objective and instantly available for monitoring.
Automated inspection is becoming a requirement in many high-end industries. Inspection validation and measurement system analysis are basic requirements for high-tech products, and the standards are a mainstay.
Automated inspection is regularly used on manufacturing lines, metrology departments, laboratories, process development workshops and R&D environments worldwide.
What are Different Types of Automated Inspection Technology?
There are different types of automated inspection solutions, from semi-automatic to fully integrated robotic inspection cells. The list below takes you through each level in detail with specific CAPTURE 3D products optimized for each setting.
1. Semi-automated
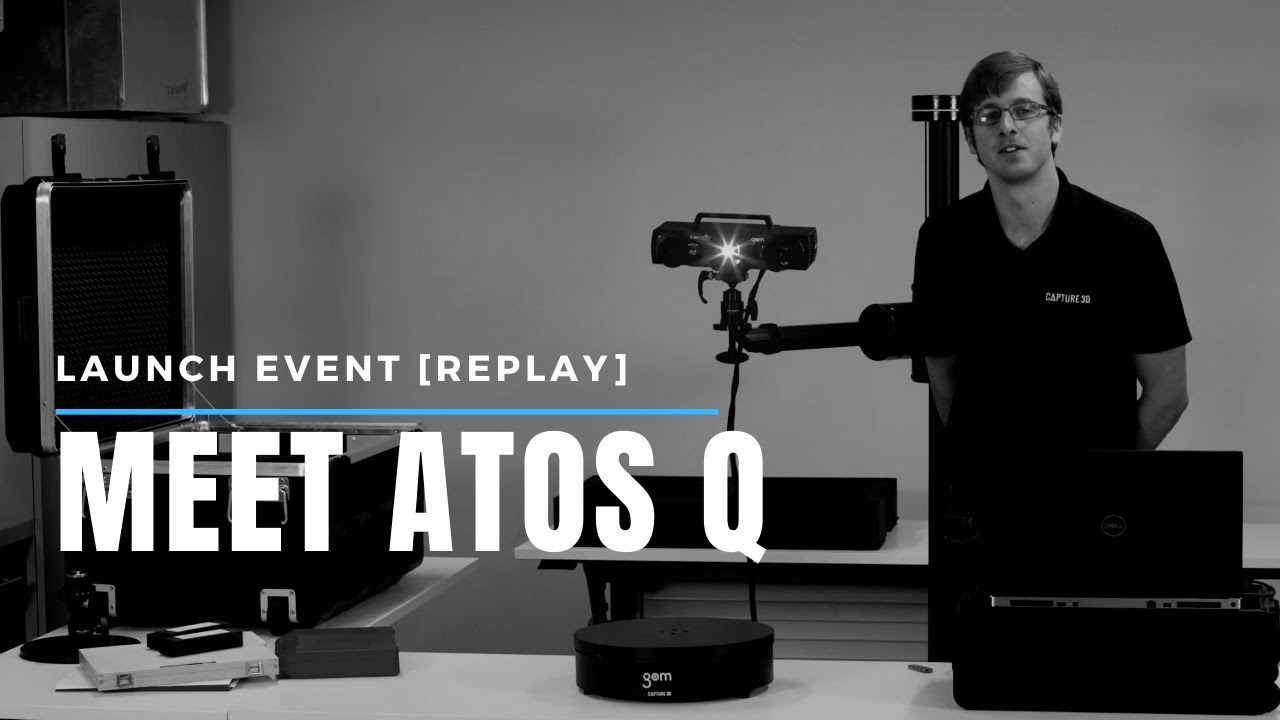
A semi-automated 3D scanning inspection solution is one in which the scanner is held stationary, and the component is rotated in its field of view using a motor-driven turntable. This setup provides a high degree of flexibility in terms of component types and sizes but is limited to the scale of the turntable available.
The CAPTURE 3D Tilt & Swivel system is an entry point to automated inspections for many businesses. This solution provides semi-automated scanning, making use of the rotary stage. The object is loaded manually to the stage, and a program is selected on the machine to rotate and tilt the object underneath the 3D scanner automatically. This configuration can be manipulated to different angles during scanning and covers a wide range of small component shapes and sizes.
At different payload ratings, CAPTURE 3D offers a range of rotary stages which can handle increasing weights depending on your application. The CAPTURE 3D Industrial Rotation Table, for example, can take up to 8,000 lbs of component weight, so there are options to cover a wide range of industries and applications.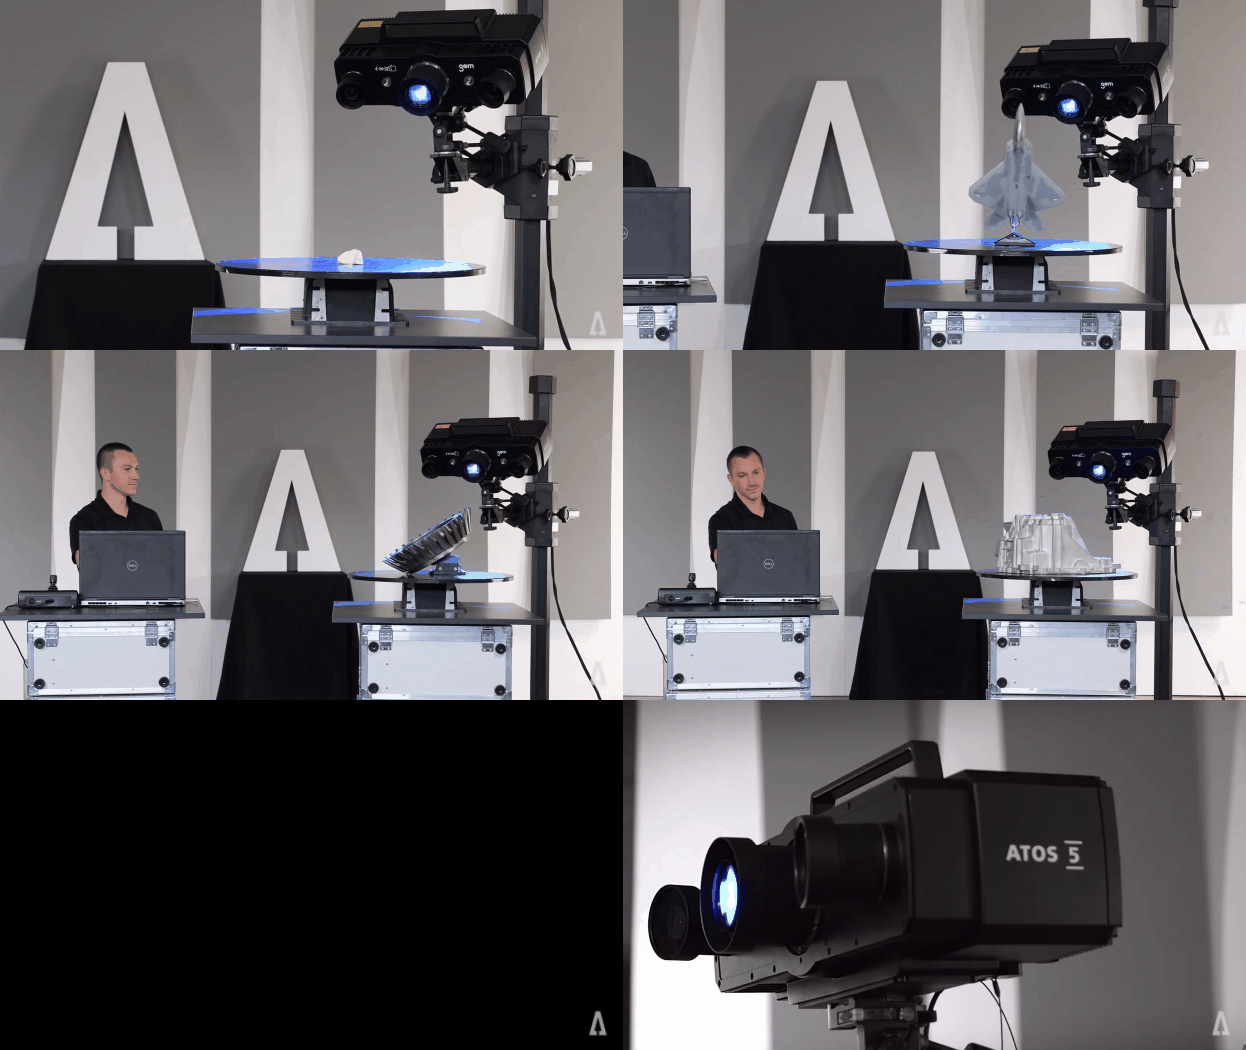
2. Automated Scanning Enclosure
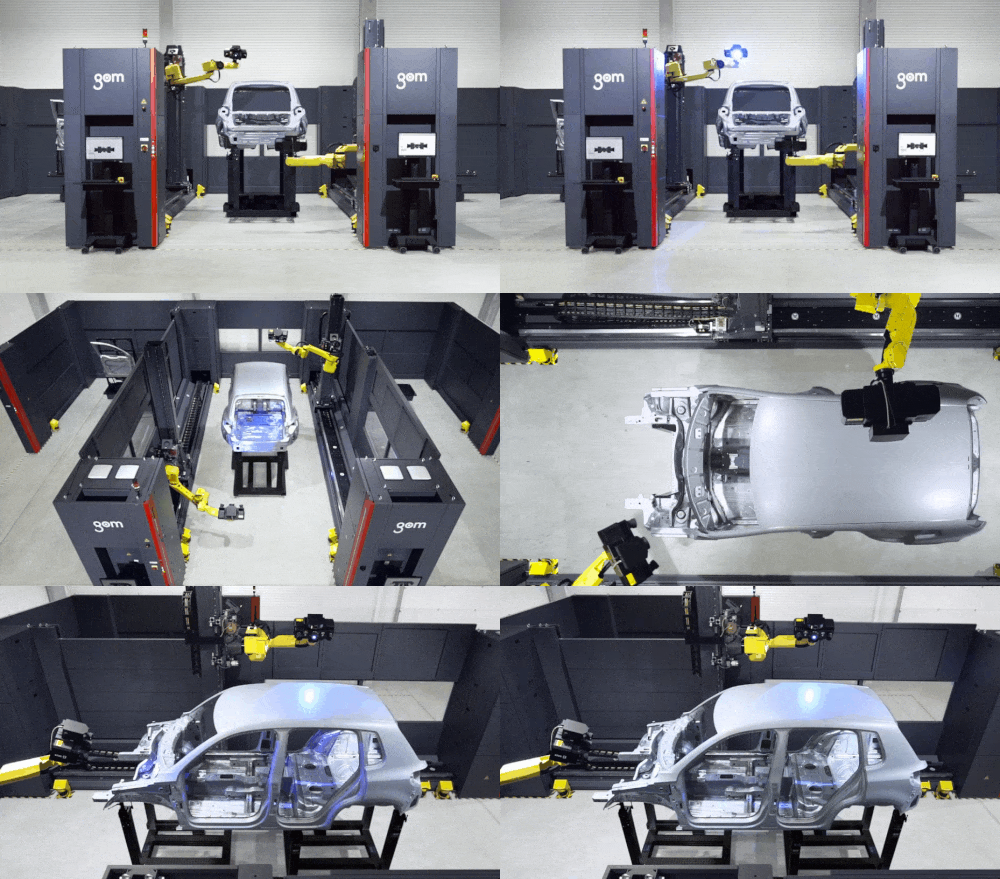
An automated scanning enclosure is an inspection cell in which the object for inspection is stationary, placed in an enclosure, and the scanning system moves to collect the measurement data. Usually performed with actuated or robotic mounting, the 3D scanner passes in front of the object to perform the measurements and inspection.
This method is more flexible than rotary inspections as the system is not limited to the turntable size. The enclosures accommodate larger components such as automotive chassis, forged and molded components, and large-scale aerospace assemblies.
The ATOS ScanBox Series is a collection of automated measurement and inspection solutions with footprints that range from approximately two square meters (ScanBox Series 4) up to 130 square meters (ScanBox Series 8). At the smaller end of the range, the object is loaded onto a stage or rotary table, and a robotic arm moves the 3D scanner. These inspection cells are "plug and play" in that the systems can be installed directly into position in a metrology room or shop floor, plugged into the electricity supply, switched on, and start taking measurements in minutes.
The maximum component size increases from Series 4 through to Series 8. At the higher end of the scale, Series 8 can accept up to 3 full-sized vehicle chasses for measurement at the same time. Custom robotics (similar to those seen in automotive manufacturing) are gantry based and collect measurements by moving around the components within the enclosures. Light curtains and other safety switches maintain a safe environment for workers and inspection staff.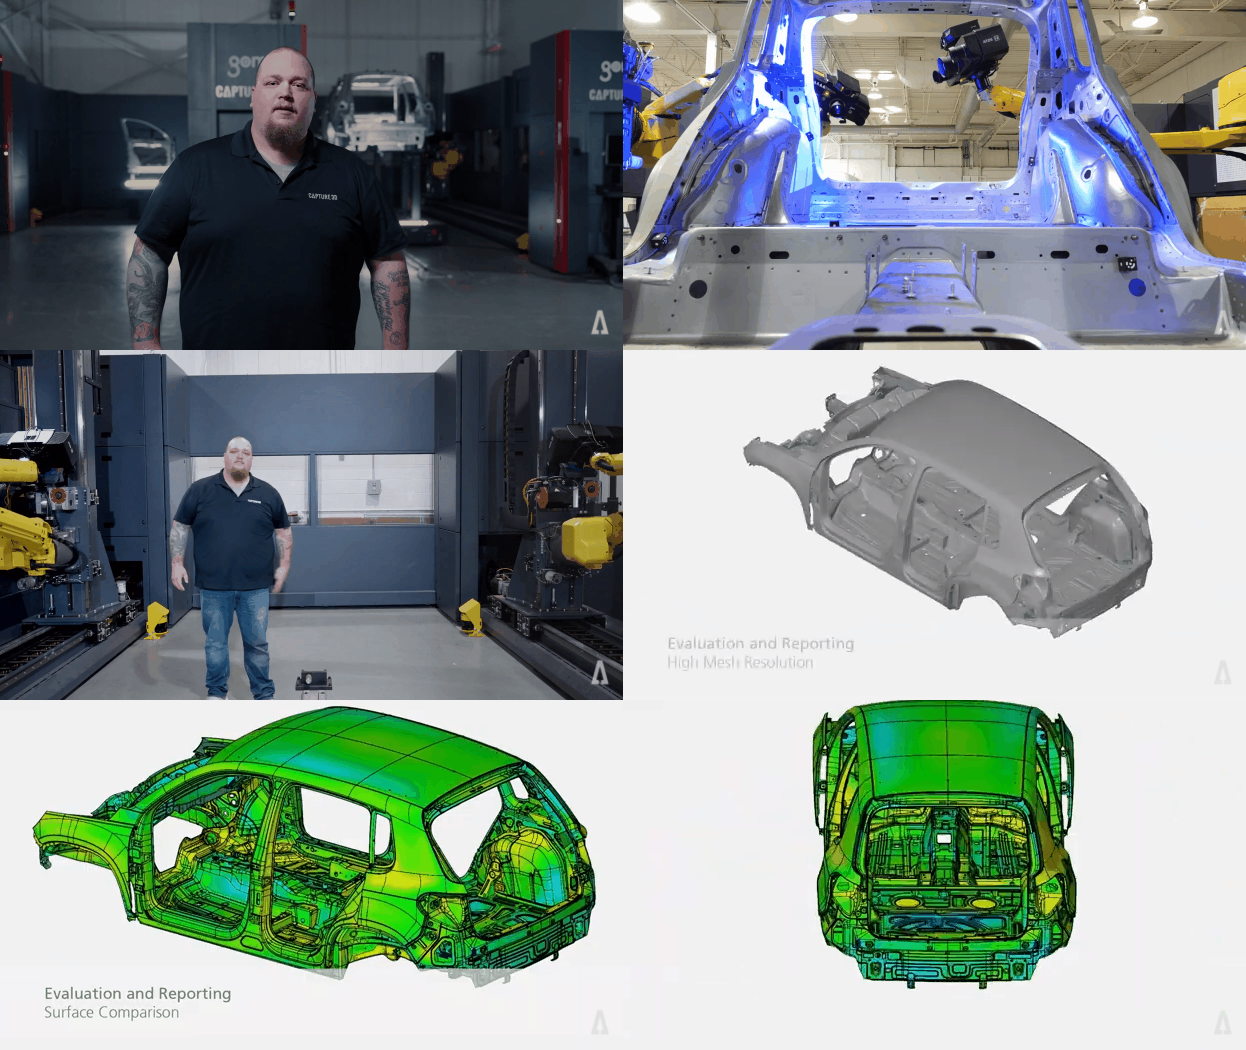
3. Collaborative Robotics (Cobots)
Collaborative robots, or cobots, are robotic systems specially designed to work safely in close contact with people. They consist of a robotic arm holding a 3D scanner and a stationary or rotary table to hold the object during the scanning session. This setup allows the inspection staff to work in close contact with the station. These systems do not need to be enclosed as with other automated 3D scanning and inspection solutions.
GOM ScanCobot is a specialized collaborative robot with an integrated inspection scanning system that performs automated inspection of small to medium-sized components. Smaller than full-scale automation cells but more mobile and easier to fit in tight spaces, the GOM ScanCobot can be wheeled directly to where measurement and inspection need to take place.
4. Fully automated
ATOS Scanbox BPS is similar to an automated scanning enclosure but also provides the automated loading of objects and components for batch and process inspections. With a pick-and-place system for selecting and positioning objects for inspection, this system is perfect for in-line or high-volume sampling inspections in a production environment.
ATOS 3D scanners can be integrated into custom robotics cells, allowing you to fully customize your inspection workflow and control the movement and sequence of inspections for complex or large-scale components and assemblies.
When designing an effective automated inspection station, what are some important factors to consider?
There are several important factors to weigh when considering the scale and form of automation for your application.
• Space & Size
The size of the object or component for inspection will be a key driver for the minimum space required for your solution. But different levels of automation also drive different levels of footprint. Small handheld components may be inspected with enclosures of the scale of most industrial workstations. Larger components, for example, automotive panels, require more space when fully automated. The level of robotics within the cell (stationary robots, gantry mounted) can increase the amount of space required.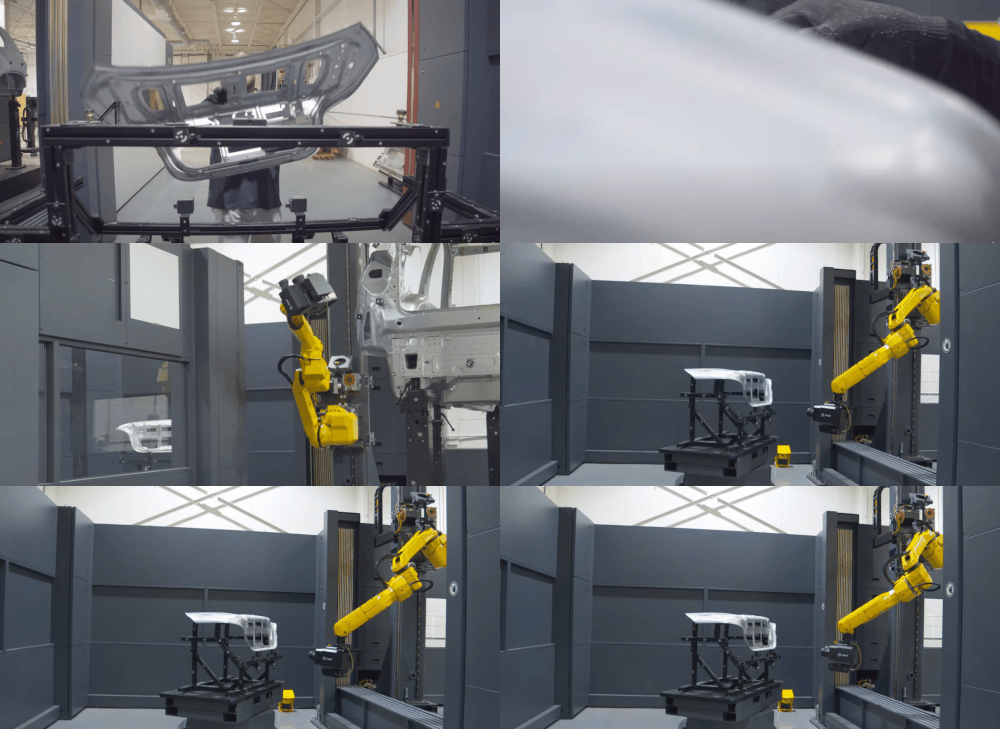
• Cycle Time & Staffing Level
Improving product quality while reducing cost is often a key driver for automated inspections. To realize these savings, you can drastically reduce inspection cycle times (the time taken to inspect the component). The level of savings required can guide the design and specification of the inspection equipment. Collecting more data per scan allows entire surfaces to be covered more quickly. The throughput of the inspections can be increased, and the overall staffing reduced.
• Inspection Team Capabilities
Training and support are always needed when introducing new technologies, and you should always consider the team's experience level when selecting the complexity of the automated inspection solution. GOM software's Virtual Measuring Room is ideal for teams to build familiarity and confidence with automated inspections. This software tool can be used offline from production and can replicate the production environment while training new inspectors or increasing the competency of existing staff.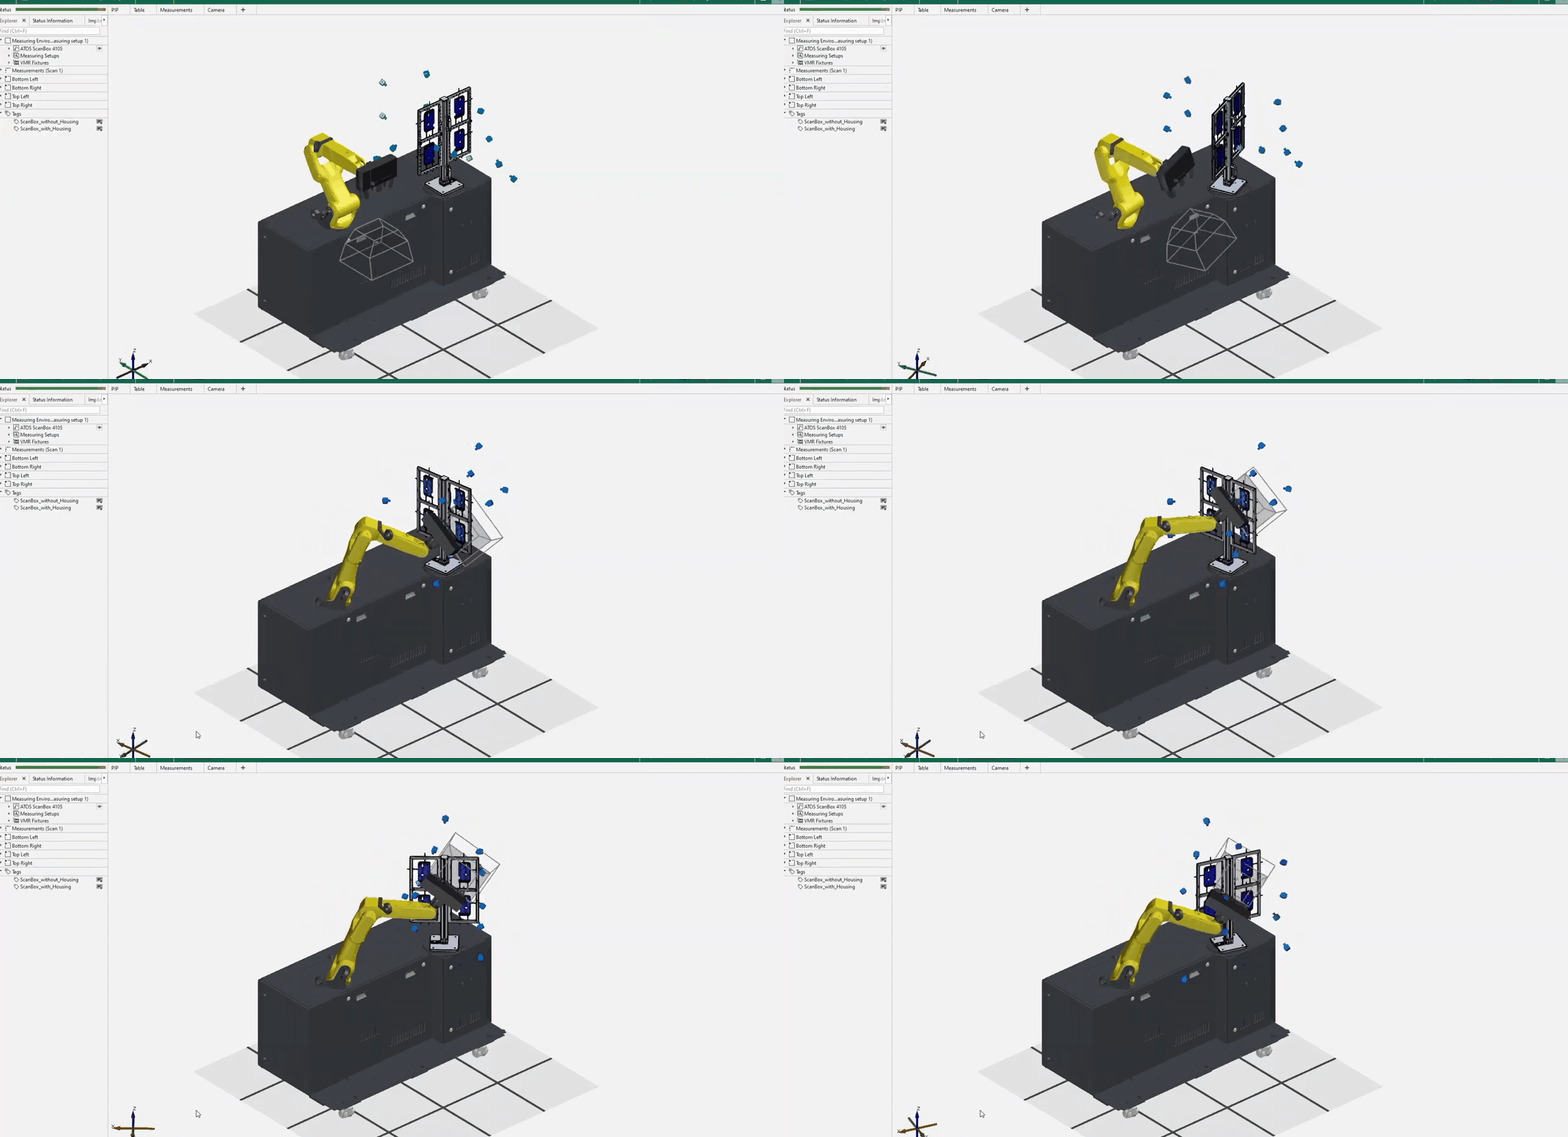
Find the Best Automated Inspection Solution for Your Application
Now that you know what you need to get started with automated inspection, contact a CAPTURE 3D team member for a consultation and start saving time and money now.
