Why Automated Metrology is Worth the Investment
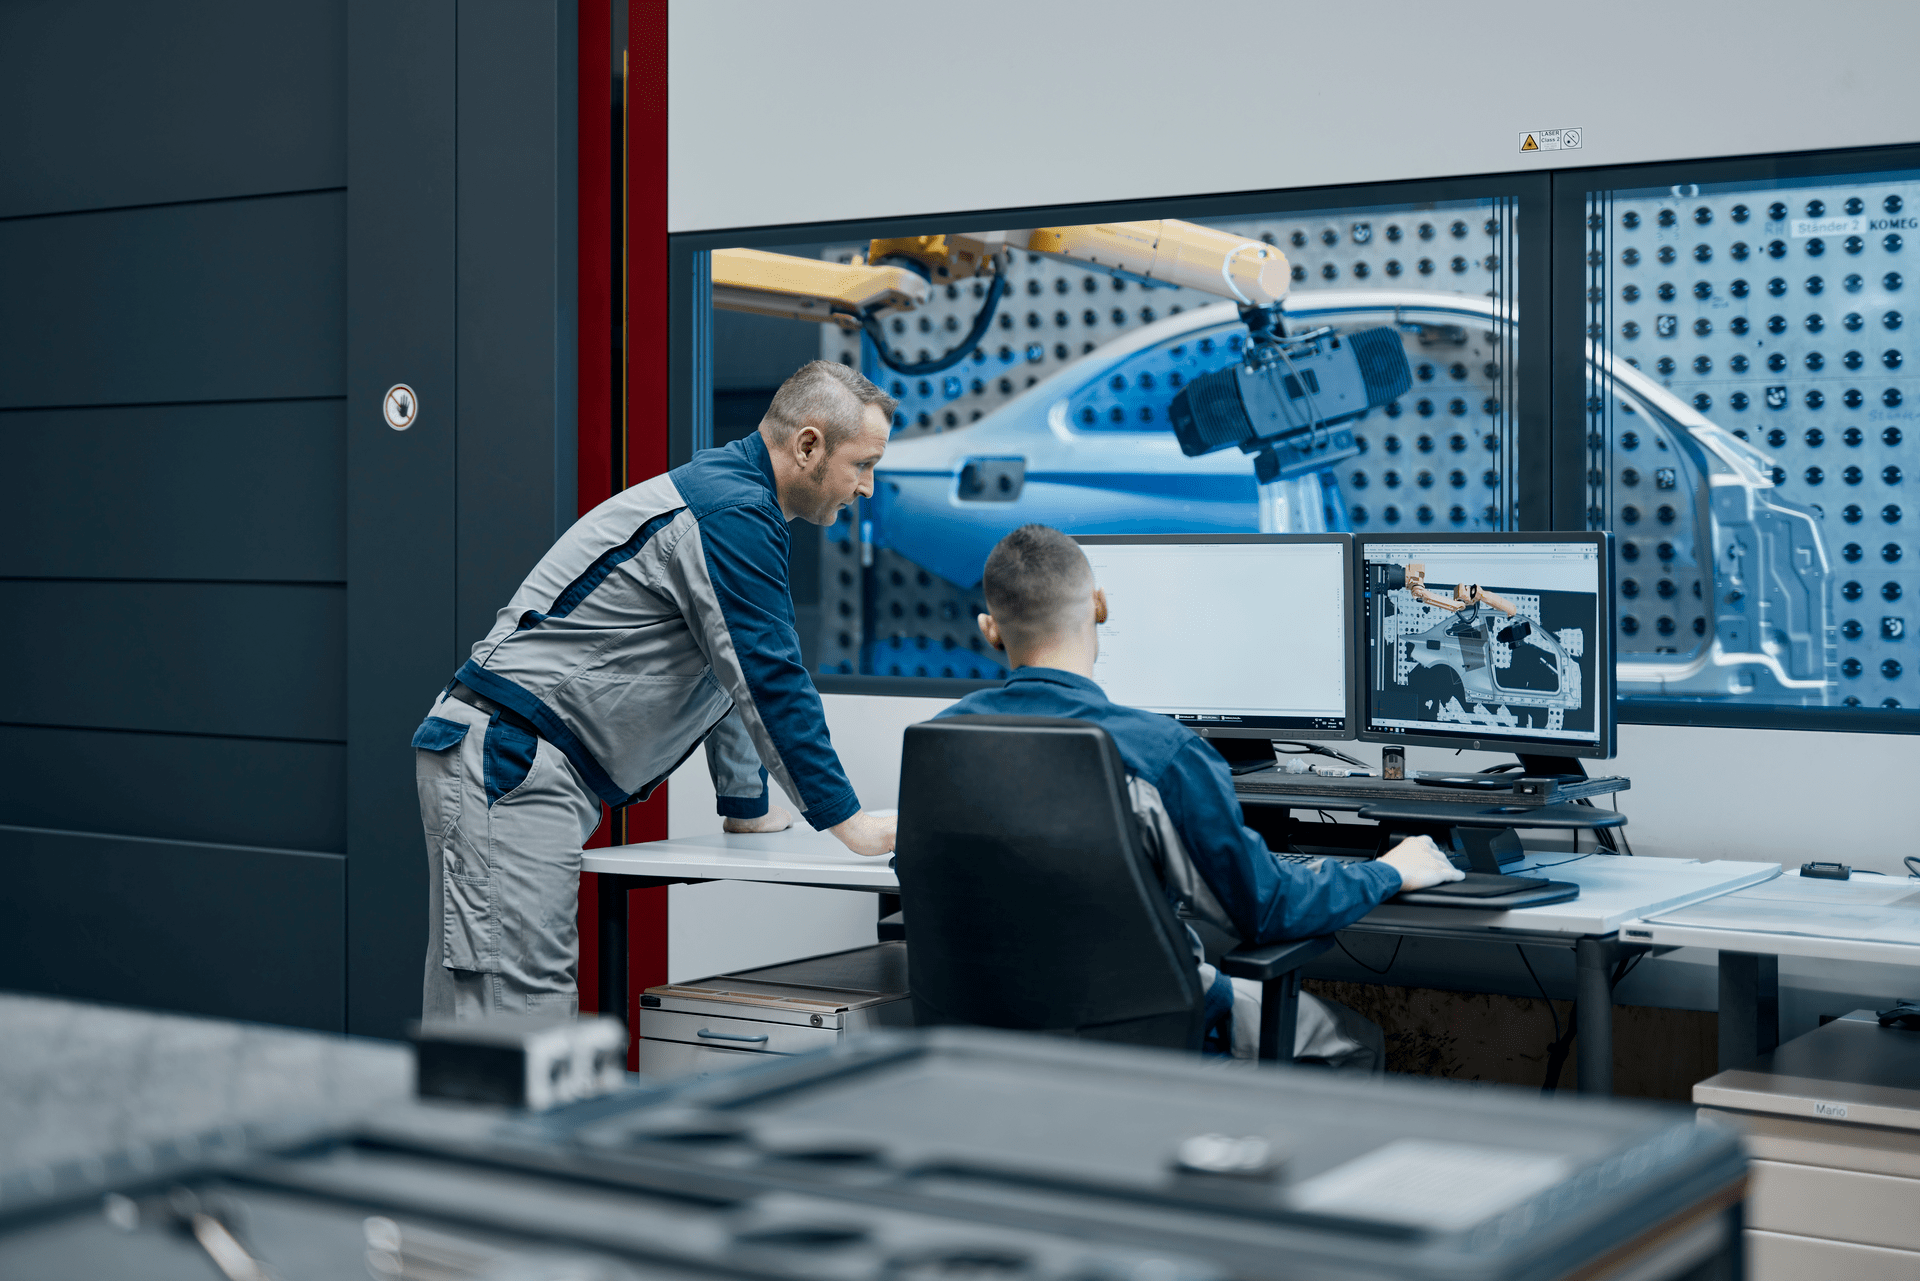
Automated metrology is the use of robotics or other automatically controlled equipment, systems, and software to measure processes, parts, or products repeatably. Launching such equipment requires investment in hardware, software, training and maintenance. But is automated metrology worth the investment?
Automated metrology provides valuable benefits for manufacturers, including greater repeatability, control, and faster data collection. Investing in new technologies takes research and careful consideration. After all, you want to make the right investment that delivers a strong return. A key factor in making the right investment is the expertise of the technology provider with whom you partner.
In this article, we will cover:
What are the Benefits of Automated Metrology?
Automated metrology in manufacturing is a key enabler in high-tech production for ensuring quality when manufacturing at high volumes or working with high-value components. The key benefits of automated metrology are:
Speed & Repeatability
Automated metrology and inspection are proven to be repeatable and often faster than traditional inspection methods performed manually. Automated metrology can replace many manual inspection methods, reducing cycle time from several hours to just a few seconds using the latest automated 3D scanning technology. Robotic arms, pick-and-place equipment, and other PLC-controlled equipment enable precise and continuous operations.
On a manufacturing line, directing components to in-line automated inspection cells dramatically improves the flow and balance of production lines to achieve greater production outputs.
Reduction in Human Error & Objective Data
The precision at which automated equipment can perform the inspections leads to higher quality measurements and analysis. By acquiring accurate 3D measurement data, you can collect a more accurate data set than relying on manual data recording, such as writing by hand onto paper test sheets. With increased accuracy and precision, you get a more reliable picture of the product or process output.
An additional benefit of non-contact measurement systems, such as 3D scanners, is the ability to measure hard-to-reach areas, internal crevices, and flexible or delicate components without touching and disturbing the product during inspection.
Less Scrap and Improved Quality
Automated metrology allows you to have more control over your processes. Manual inspections typically require the component to be set up and repositioned several times to capture all areas of the component. Meanwhile, a 3D scanner mounted onto a robotic arm can be programmed to quickly and easily move around the part without requiring re-orientation of the workpiece.
Multiple readings can be taken of a surface (or a specific dimension) in a single pass of an automated 3D scanner, removing the need for inspectors to check and recheck measurements of the same parts. Millions of inspection points can be captured almost instantly with a single scan of an accurate blue light 3D scanner, such as the ATOS 5, which has a data point acquisition time of 0.2 seconds.
With a repeatable process that results in accurate data, manufacturers require fewer iterations. They can use the accurate 3D scan data to evaluate and validate processes, resulting in less scrap and better parts.
How to Overcome Metrology Challenges in Manufacturing
Automating any process in a business can be challenging. Overcoming legacy processes requires drive and determination and implementing robust systems to foster success. Many organizations face familiar challenges when automating their inspection procedures. The most commonly faced challenges and how they may be overcome are listed below.
Install Costs and Return on Investment (ROI)
A key driver for automating processes is improving efficiency and adding production capacity. Businesses must ensure that the technology they invest in delivers a return strong enough, and fast enough, to justify the purchase.
ROI must be assessed over the investment's lifetime. ROI is the amount of savings (over a specific period of time) divided by the investment's cost.
Click here to try our ROI calculator that helps you assess a potential investment in new technology and the impact that it will have on your business's bottom line.
Some key considerations in assessing the ROI of automated metrology are:
• The cost and scale of the purchased system: Does this meet your needs? Is it future-proof for potential further growth and expansion?
• Training, launch and operation: Does the technology require extensive training to operate? Do you need to hire separate staff to operate the technology? What is ramp-up time like, and will the company you purchase from partner with you during implementation to launch you into success?
• The nature of the savings: how much will you save by generating less scrap? Are there opportunities to redeploy inspection staff to other positions to boost productivity?
• The maintenance costs: are there ongoing costs associated with automating your inspection processes? Are there spare parts, consumables, and software costs to consider?
Use our ROI calculator to help you evaluate various technology configurations and determine which is best suited for you.
Knowledge and Experience Gap
There is always a launch and ramp-up time associated with implementing new technology. Proper training and support are critical to successfully implementing automated metrology.
Partnering with a metrology provider who offers training and expertise is key to getting the necessary support to be successful. Many companies struggle with the lack of vendor-integrated systems, with a patchwork of software, hardware, and processes.
When shopping for an automated metrology solution, look for a company that provides the 3D scanning hardware, integrated automation, proprietary software, launch, training and support to make your roll-out a success.
Lack of Vendor Support
Any new processes or systems must have the vendors' full support during the installation and ramp-up phases. The lack of integrated support from many vendors is a major challenge for businesses. Too many vendors simply supply the equipment and provide manuals.
Businesses must choose vendors who work as partners committed to their customer's goals and are focused on long-term relationships and mutual success— not just making a quick sale.
Our team has decades of experience in the manufacturing and metrology industry, and our automated metrology solutions are trusted by major customers such as NASA, Ford, and Honeywell.
Product & Input Variation
Fully understanding and characterizing the product is a vital step in metrology automation. Before automating any manual inspection, a certain level of process control is required. If the current process has excessive variation, with low quality and a lack of well-understood standards, the automation of the process will surface more and more issues.
Trials and prototyping can be a powerful way of accurately characterizing your product or process outputs before taking the next step into fully automated metrology equipment. Our team has a wealth of experience to help you determine the automated metrology solution for your application.
For more information on the first steps in moving to automated inspection, check out our guide on What You Need to Know Before Implementing Automated Inspection here.
Examples of Automated Metrology Solutions
ScanBox Series
The Scanbox series is a line of automated 3D scanning inspection cells. The product line has six main sizes and configurations, from small scanning enclosures for small components to larger industrial cells for inspecting an entire body in white. With this collection, there is an automated metrology solution for every application.
The ScanBox series of scanning cells is delivered and installed as an integrated cell with everything you need for the process: an ATOS 3D scanner, robotic arms, gantry or mounting system, rotary stage (if required), along with all the software and safety enclosures. The ScanBox series represents the latest in industrial near-line automated inspection, trusted by many of the world's leading manufacturers.
The Virtual Measurement Room (VRM) is an integrated software solution that allows you to program your automated inspection process simply within one piece of software. The software gives the user a quick and intuitive set of options and formats for positioning of workpieces, inspection and measurement points. The precise sequencing of the robotic arm paths can be accomplished without complex software or robotic programming knowledge.
ScanBox BPS
Similar to the ScanBox series, the Scanbox BPS is an enclosed system with the added functionality of automated loading and unloading. This solution's automated loading allows it to run batches of inspection with little to no operator involvement.
With configurations available for standard processing methods (such as turbine blade or electrode inspection), the ScanBox BPS is designed to extend your manufacturing and inspection process. A dedicated PLC interface module controlling the automated loading and unloading allows up to 11 hours of constant inspection with minimal operator intervention.
The ScanBox BPS can interact with product tracing capabilities (such as RFID tags). In this way, the system can automatically recognize the component to be inspected, load a specific inspection program, and log the results uniquely for each part.
GOM ScanCobot
The GOM ScanCobot is an entry-level option for those entering the world of automated metrology or those working with small to medium-sized parts. The ease of use of the GOM ScanCobot allows an automated inspection process to be up and running at an organization's facilities within hours. Utilizing a collaborative robotic arm, the operator works in conjunction with the automated piece of equipment.
With safety, precision, and speed at the forefront, the GOM ScanCobot brings automated metrology to first-time automation users or smaller-scale facilities at a fraction of the cost of a custom, fully-automated solution.
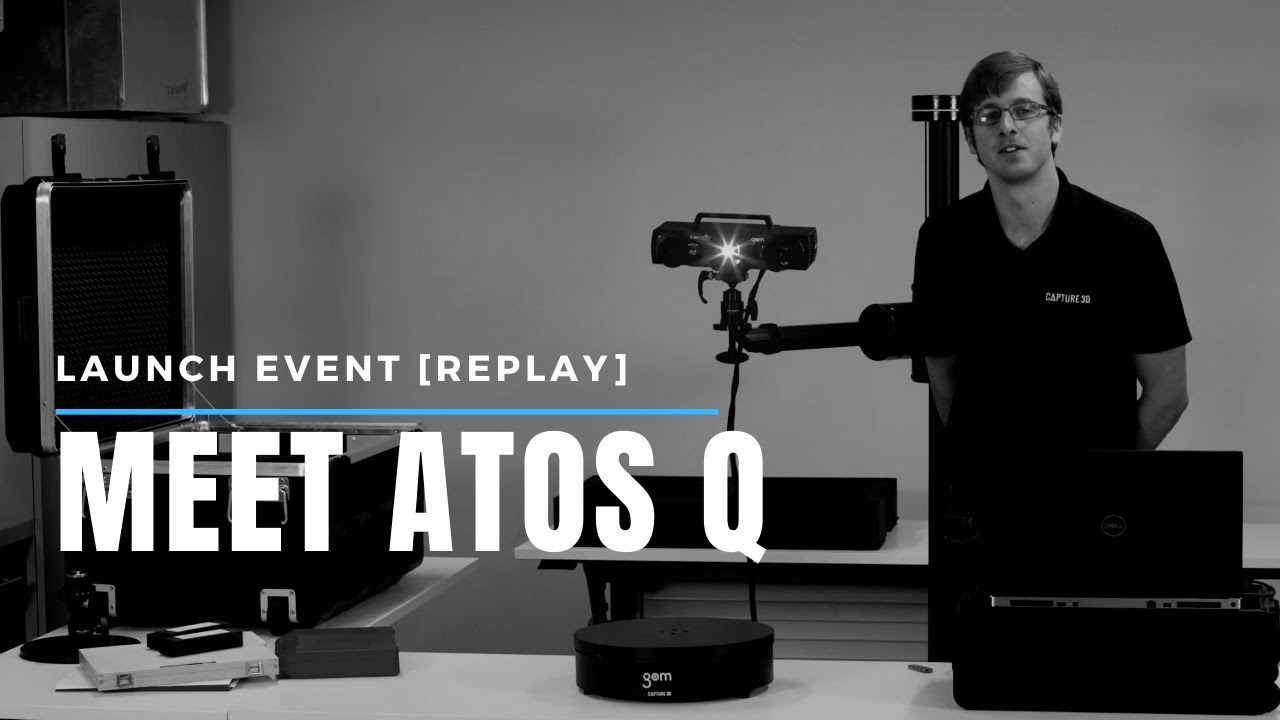
The GOM ScanCobot solution integrates an accurate ATOS Q 3D blue light scanner with an automated rotary stage to automatically capture precise measurements and inspection data. The plug-and-play 3D scanning solution comes on wheels, making it easy to move where it is needed on the shop floor.
Find the Automated Metrology Solution for Your Application Today!
Automated metrology is a valuable investment that helps manufacturers increase efficiency, accuracy, and quality. The technology offers several benefits, including increased throughput, repeatability, speed, reduction of human error, creating less scrap, increasing quality, improved safety, and improved data accuracy. Choosing the right partner and ensuring that the solutions are easy to operate and integrate into existing manufacturing processes is essential to overcoming the challenges of implementing automated metrology.
By investing in automated metrology solutions, manufacturers can stay ahead of the competition and meet their customer's demands. An ROI calculator can help evaluate the technology investment and determine potential cost savings. Click here to check out our ROI calculator to determine the right strategy for your business now.
